
10.1 Food & Kitchen Cleaning
Food kitchens are the environments that cleaners so often come across, yet they are the most challenging.
Cleaning a kitchen in a domestic environment may be relatively easy. However, in a hospitality environment the cleaning of a kitchen becomes slightly more complex.
You have to be aware of the different pathogens that can be found across kitchens. These include:
- Salmonella
- Clostridium difficile
- Hepatitis A
- Campylobacter
Many pathogens come directly from meat - especially chicken. However, conditions like Hepatitis A and Clostridium difficile can arise when someone who has been preparing food does not wash their hands properly.
As a cleaner, you cannot rely on others to do their job hygienically. Regardless of how clean a surface looks, it is your responsibility to treat it as though unseen pathogens are present. The chances are that some will be present.
In domestics kitchens this is a chore that many do not enjoy, but it is not too difficult to attain professional results, when you maintain a structured cleaning routine.
Employees should follow these instructions:
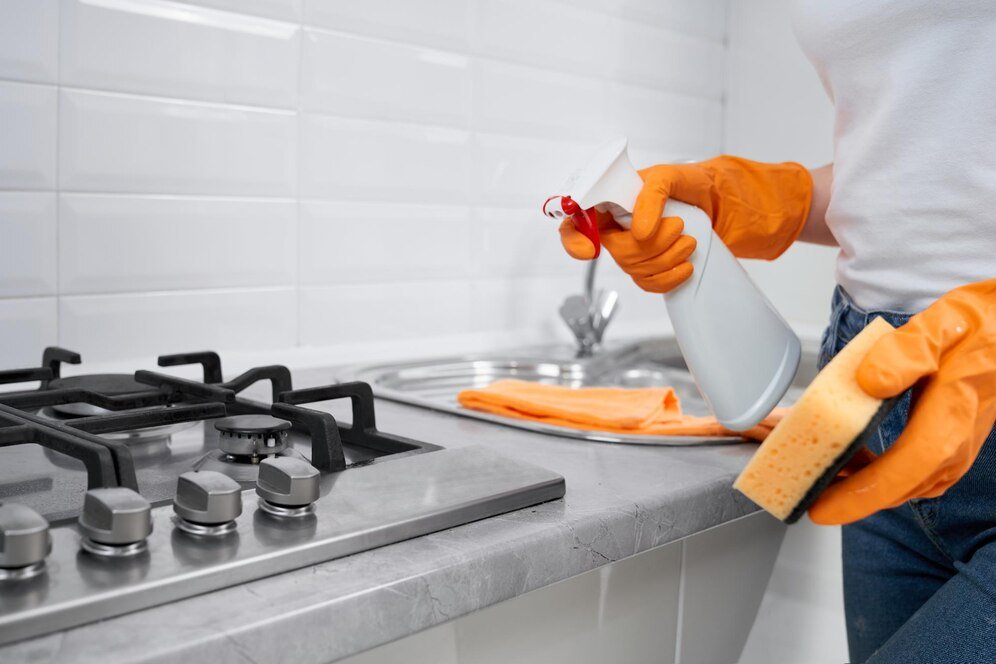
First, scour the kitchen and appliances for stubborn stains; such as grime inside the microwave or burnt on cooking oil on the hob surface. However, these will require time for the cleaning solution to break down the grime. Do that by spraying on some all-purpose cleaning spray and leaving it to work, while you move on to other areas.
While the solutions do their work, you can then start cleaning from the top working your way down, before finishing with a mop to the kitchen floor.
- Fill the sink with warm water and add a little all-purpose cleaning solution
- Use a feather duster to dust off any cobwebs or loose debris from the ceiling and from the top of kitchen cupboards
- Use a microfiber cloth, moistened with the warm water from the sink to wipe down the units. Get into the habit of two handed cleaning. Use one hand to clean in a circular motion with the damp cloth, while using the other with the same motion to dry as you go, without leaving streaks behind. Use the same cleaning technique to finish off the countertops also.
The above is for simple cleaning of the doors, worktops, and removing dust from overhead. The real cleaning starts with the appliances.
10.2 Cleaning the Microwave
The microwave is easiest cleaned using a bowl of water.
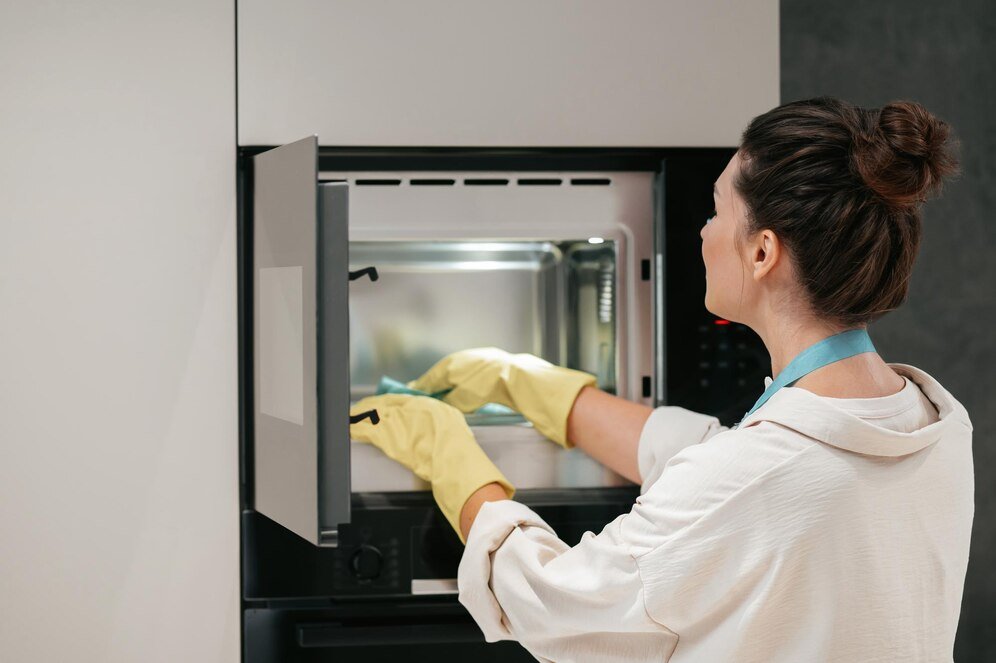
As the plate soaks, wipe down the inside surfaces of the microwave using a dampened cloth, and a dry one to dry off the interior as you go.
Baked on debris will be loosened by the steam from the heated water, allowing you to remove it easily.
Replace the plate in the microwave and then use all-purpose cleaner to clean the outer surfaces of the appliance, ensuring you clean between the door and the unit.
For units with a glass door, use warm water to clean the inside of the door, and your all-purpose cleaning solution for the outer door.
10.3 Cleaning the Oven
Ovens with baked on food will require a household ammonia oven cleaner.
Use of this will require you to wear protective clothing, as it can be harmful to the skin. Cleaning gloves and safety goggles should be worn, as well as an apron to protect your clothing.
The first part of the process is preparation. Firstly, prepare the oven by removing the racks and use a cloth, sponge or a dustpan and brush to remove any loose debris in the oven.
To clean the racks, place in a bin bag with some oven cleaning solution, allowing that to remove any baked on grease from the racks.
Then apply the ammonia based cleaning solution to the oven, using a cloth and ensuring you place more of the solution over the areas with built up grime.
It will take about 20 minutes for all the baked on grease to loosen enough for you to start cleaning. While the cleaning solution does its work in the oven, you can continue with the cooker top. (See below)
When you return to the oven, (ensuring you are wearing gloves), take a cloth over the oven walls, cleaning from the top so that the debris falls to the bottom of the oven ready for lifting out with the cloth, or a hand brush.
Once you have cleaned all the interior walls, wipe the debris from the oven and then clean it again with warm water to remove the remaining solution from the walls; leaving the oven fresh for use.
Remove the oven shelves from the bin bags and cleaning solution and wipe those down too, removing any dirt. Rinse the racks with clean water only, before returning them to the oven.
10.4 Cleaning the Cooker Top (Gas)
Remove the burners from the cooker and place them in the sink to soak in warm water to loosen the dirt from them.
Do not use steel wool for cleaning racks as they can damage the surface. Use a cloth and apply as much elbow grease as required to remove the debris.
Remove the controls from the cooker top, but do not soak these. Use an all-purpose cleaner and wipe them down with a cloth.
Spray on some all-purpose cleaner to the surface of the cooker, using a cloth to clean it, and then buff to a shine before replacing the burner racks. When replacing burner racks, ensure they are completely dry to avoid any residue dripping onto the cooker top.
10.5 Cleaning the Cooker Top (Electric)
Any top covers over the electric hob or rings will need to be removed.
These can be washed with warm soapy water and a soft cloth should be used to prevent damaging the surface.
Clean the top of the cooker unit with all-purpose cleaner, wiping between the coils and under the ring. Take care not to apply any cleaning solution or water to the heating coils themselves, as that could lead to damage. Clean around the coils only. Any dirt should be wiped with a clean cloth only.
10.6 Cleaning the Refrigerator
This task should not be neglected when you are cleaning a kitchen.

Use the all-purpose cleaner to wipe down the doors and any other visible area. It is important to clean the rubber seal between the door and the refrigerator, as that is where dirt will accumulate.
When your assignment requires you to give the fridge a more thorough clean inside, then the first thing is to remove all the food from the refrigerator. You will be using an ammonia-based cleaning solution which must not come into contact with food.
Dispose of any obviously perished food. However, if you are unsure, leave that task to your client.
Once the food has been removed, fill the kitchen sink with clean hot water and some all-purpose cleaner. Remove the shelves, clean thoroughly and leave to dry.
While the shelves dry, you can clean the fridge interior. Spraying any dried on stains with an ammonia-based solution and carefully clean everywhere else. Once done, leave the door open to air for a few minutes, and then replace the dry shelves and the food from the counter.
If the fridge smells you can use a deodoriser, however, this may be an additional cost to you if you do not usually purchase them as standard. As an alternative, you can cut a potato in half and leave that in the fridge. This is an old-fashioned, yet effective, way to absorb bad smells. Leave a note for your client explaining what you have done, and why.
10.7 Cleaning the Sink
The last place to clean is the kitchen sink.
It will be dirty and have residue in it from the cleaning that has been done. Remove any debris from the dirty water, and then rinse, wiping with a damp cloth.
It is a good idea to gently cover the surface with a cleaning powder, leaving it to penetrate. However, if the sink is particularly dirty you may need to use bleach (¾ cups of bleach for every gallon of water). This is especially the case with white sinks, which attract stains.
Pay attention to the taps and the plug hole. Do the taps have a build-up of lime scale around them? If so, use an acid-based cleaner to remove them. If you have a steam cleaner to hand, blast around the edge of the taps to remove grime. Pour some bleach down any plugholes that require unclogging, and leave it to settle.
Look under the dish rack and around the sealant for evidence of mildew. You need a strong bleach solution to soak in for five minutes and a good scrub to address either.
To finish, use the all-purpose spray and wipe to a shine.
10.8 Food Safety
As a cleaner, there may be times when you handle food or instruments that have come into contact with one of the pathogens named at the beginning of this module.
This includes utensils, chopping boards, and empty packages.
Before disposing of plastic, always rinse it with hot water. This is particularly important for anything that may have contained meat. Similarly, rinse all chopping boards and utensils with hot water — if it is your job to handle them.
When handling food always remember to wash your gloves thoroughly between areas. This prevents cross-contamination of pathogens. If possible, change your gloves completely.
Finally, always carry hand sanitiser with you.
Module Summary
There is no 'one size fits all' approach when it comes to cleaning cooking equipment such as ovens and hobs.
Some ovens have self-cleaning modes that you can take advantage of.
Gas hobs are more difficult to clean than electric hobs as you may need to disassemble them first.
However, you primary concern when cleaning a kitchen or food preparation area should be food safety. There are many different pathogens that can be found in kitchens and as such you should do your best to avoid cross-contamination and always maintain high standards of hygiene.
.svg)