
8.1 Cleaning Techniques & Standards Expected
Any cleaning task you undertake must be carried out with utmost professionalism.
It is the one rule that will lead to increased customer retention. If you are a cleaner as an employee you can use the cleaning techniques described in this section to maximise your job security, as they are the best methods to attain professional results every time.
For household cleaning, work on a room-to-room basis. Start with the most used room in the home, cleaning that area thoroughly, as that is where most of the dirt, dust and grime will be. Once you have finished one room, close the door and do not go back in - to prevent you trailing dust from other rooms, back into ones that have been cleaned.
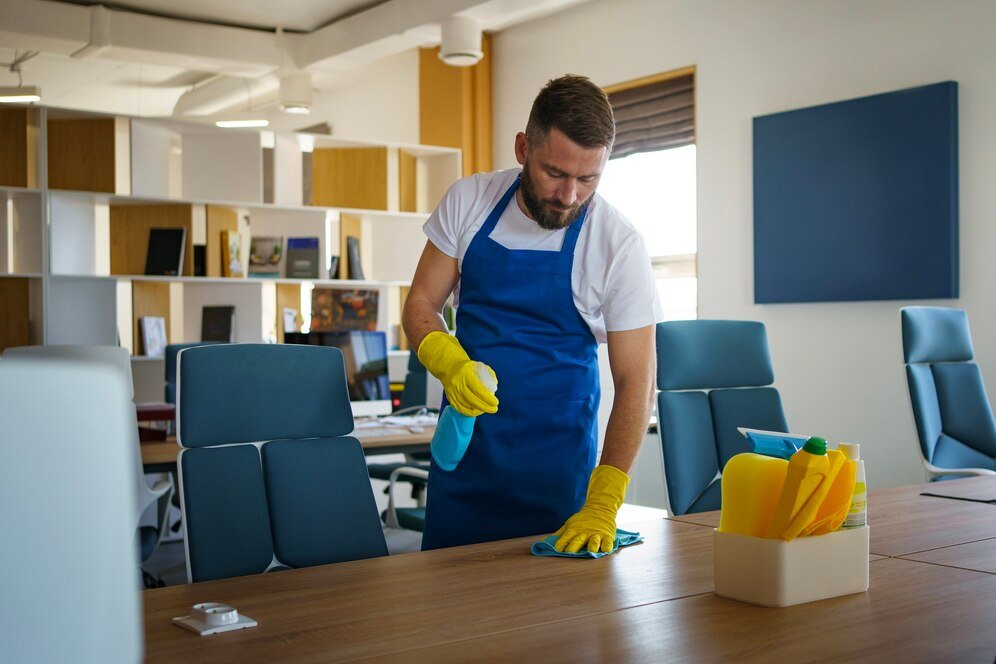
8.2 Surface Cleaning
Before cleaning any surface, always make sure it is free from large particles.
This means brushing off any food or dust that has gathered.
When there is no dried-on food affecting the surface, apply an all-purpose cleaner. Begin by scrubbing corners and edges thoroughly, and then wipe the surface clean using a cloth.
If the surface has dried-on food, spray on some all-purpose cleaner, leave it to soak for five minutes, and then return to scrub off with a tough scrubber.
8.3 Dusting
Dusting must always be done from the top and then working your way down.
The opposite direction defeats the purpose as dusting upwards goes against the rule of gravity. What goes up must come down.
Start from the top so that the dust particles are completely picked up when you finish dusting the area.
The Equipment Needed For Dusting
The appropriate equipment is important here. Feather dusters are effective for getting into areas of thick dust, breaking it down. Once broken down, you can then use a vacuum to pick up the dust. If dust has really built up then a hand-held vacuum is best to begin with.
There is no point using a yellow dusting cloth to get rid of thick dust as it will end up just being moved around.
Begin with the feather duster, getting into the corners of all furniture, skirting boards, curtain poles, drapery tops, ceiling corners and around light fittings.
When using the feather duster on wall hanging picture frames, always use caution, as not every picture will be hung sturdily. Balance the picture with one hand, using your opposite hand to dust around the corners and top of picture frames, to prevent accidents from happening.
Feather dusters can be used on all furniture without risk of scratching the surfaces. Use it to your advantage by loosening up dust particles which causes them to drop, when they can then be vacuumed. Crucial areas for dusting are where electrical equipment is located.
All electrical items are notorious dust magnets, caused by static. Items include: DVD players, desktop computers, televisions, freeview and satellite boxes, stereo equipment - including speakers, etc.
Cables and electric sockets should be treated the same, either using the feather duster to knock the dust loose onto the floor for the vacuum to pick up, or use the crevice tool attachment for these areas when hovering.
One of the trickiest cleaning chores is glass and mirrors.
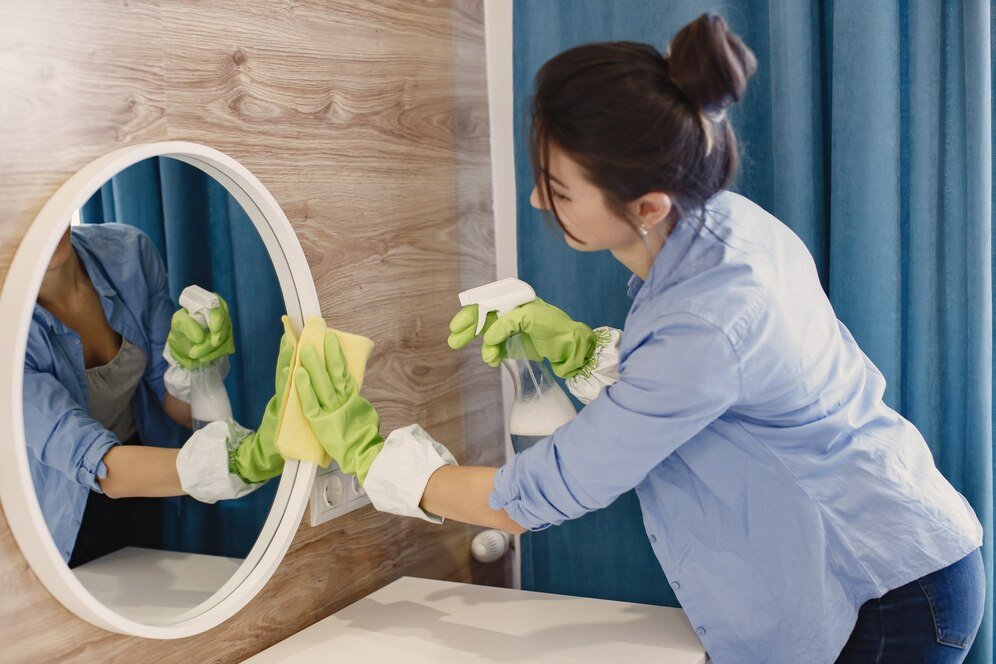
The same top to bottom rule for dusting also applies to cleaning glass and mirrors, preventing a streaky finish.
Window Cleaning
For window cleaning you will not be able to do this as and when it suits, because of the weather. A cloudy day, when it is not too sunny or wet, is the best environment for getting professional window cleaning results. Too much sun can prematurely dry windows, resulting in streaks.
The tools you should use are a squeegee with good rubber with no perforations (which can happen through wear and tear). A clean lint-free cloth, so that it does not leave fluff on the surface. Microfiber works best. You should also use an appropriate glass cleaner, following the manufacturer's instructions. A spray bottle should be used, as opposed to a sponge, as it allows more control over the amount of cleaning solution used, avoiding excess liquid running down the surfaces. Spray as you go for best results
Cleaning Solutions
A cost effective measure cleaners and companies use for cleaning solutions is to work with concentrate solutions, as opposed to pre-packaged window and glass cleaner. If you are using a concentrate always follow the manufacturer's instructions for dilution. When the solution is prepared, fill up your spray bottle ready for use.
Begin with a small amount of cleaning solution, applying to the top of the surface area. Use the squeegee in a horizontal direction to wipe clean from side to side. This motion with the squeegee allows excess liquid to run down the rubber, preventing it running down the surface, thus avoiding any streaks.
Whenever you notice the liquid running off the end of the squeegee, use your clean cloth to soak it up, but not for cleaning. The squeegee and the solution do the cleaning, while you control the movements.
When the surface area is cleaned, the next step is to get into the corners.
As you are cleaning horizontally the squeegee does not pick up all the grime. Excess dirt will be found in the corners of the frames, such as on mirrored wardrobe doors, cabinets, and window frames.
Before finishing, take a microfiber cloth to each corner to pick up any remaining debris.
8.5 Carpet Cleaning
For this service you will need appropriate carpet cleaning equipment; either a wet wash or a steam cleaner.
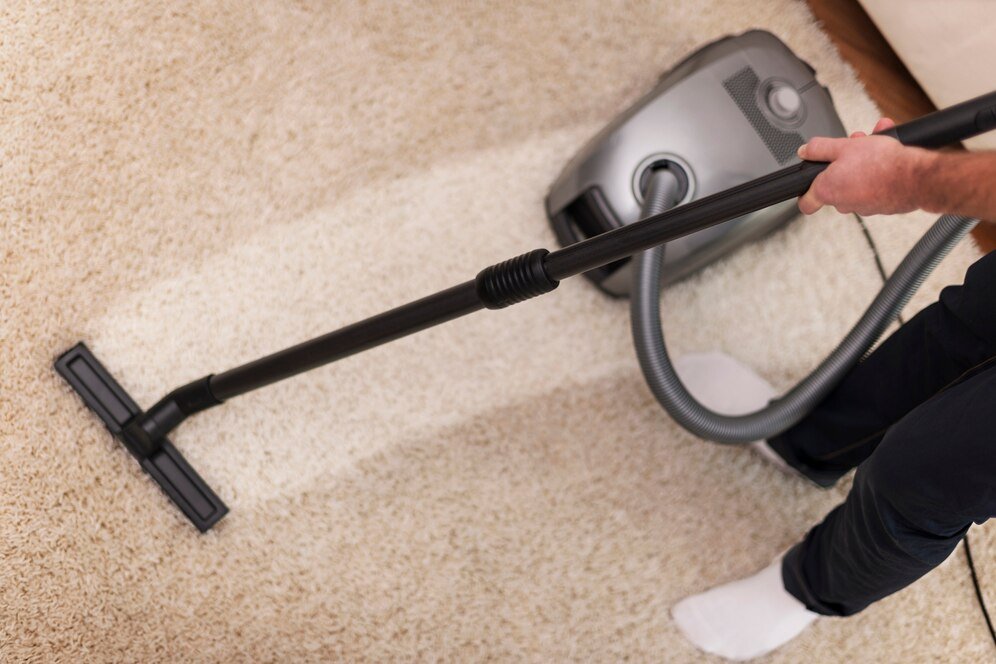
However, there may be instances when there is a spill on a carpet, requiring only a quick application of the right chemical compounds to get rid of stubborn stains, which your customers may be unable to do. That can set your service leagues apart from others and is known as spot cleaning.
When spot clean any carpet, the best applications to use are ones that are “WoolSafe®” approved. That will ensure they are designed to work on the most risky of carpet materials, which are known to be prone to damage from chemical cleaning solutions.
Dry Foam Carpet Cleaning
One way to do this is with the dry cleaning technique, using specific foam applications. This is referred to as 'dry foam carpet cleaning' and you will need the appropriate machinery to do this.
While the name of the procedure indicates it is a dry cleaning technique - it is not. It is 90% air and 10% liquid, therefore it is a low moisture cleaning system.
The machine used for this will have a water tank to which you add carpet shampoo, and then use the machine to clean the carpet. This is a quick dry cleaning technique which does not require you to open windows for ventilation to aid the drying process, as the surfaces are not as wet as they would be with other cleaning methods.
Steam Cleaning
This is the option that offers the fastest drying times and is suitable for both carpets and upholstery.
This technique is generally used to freshen carpets and rejuvenate carpet piles, however, it will not remove heavily soiled dirt from the carpet.
To do that, you will need to apply a pre-treatment of carpet spot remover for spot cleaning heavily soiled parts of the carpets. After applying the pre-treatment the carpet should be left for no longer than 15 minutes before steam cleaning. This allows sufficient time for the dirt to loosen and be lifted by the machine.
Dry Compound Cleaning
This method can be used for an instantly dry carpet as it does not use any liquids in the cleaning process.
Instead, the process uses a biodegradable carpet-cleaning compound, sprinkled over the carpet. It can be used for spot cleaning troublesome areas but for covering large areas, a specialist machine works best. Without one, you are can use a hand-brush to brush the compound into the carpet, and then simply vacuum it out. The disadvantage to the manual dry compound carpet treatment is that you will not be able to penetrate deep in to the carpet piles. You will only be able to clean the top third of the piles.
A specialist machine works best for this process as it will aggravate the compound deep into the carpet piles, using rotary brushes and then vacuum the dirt out in the process.
Dry Chemical Cleaning
This method involves a shampoo application to the carpet and then use of the machine to buffer over the carpet surface.
The buffer lifts the dirt, leaving the carpet clean and almost dry.
Wet Carpet Cleaning - (Hot Water Extraction)
This is by far the most professionally recommended form of carpet cleaning as the heat distributed into the carpet kills bacteria.
Some machines can clean carpets with just water, whereas others will use chemicals to assist in the cleaning process.
Whether you are cleaning with pure steam or with a carpet cleaning solution, the process works the same. The unit heats the water up and then applies the solution with high pressure to penetrate deep into the carpet fibres. The machine then sucks the solution out the carpet, removing the dirt with it.
The machines themselves are available in a variety of sizes. Some small and portable and others being more industrial sized machines.
For commercial carpet cleaning of large areas, such as hotels, rooms, care homes etc, there is truck-mounted carpet cleaning equipment available, although unless you are specialising in the commercial sector independently, there will be no need for the high expenditure.
8.6 Hardwood Floors
- Surface sealed
- Penetrating-seal-treated or oil-treated floors
- Lacquered
- Shellacked
- Varnished
- Untreated floors
As most hardwood floors, especially real wood flooring is expensive, it is important to follow the manufacturer's recommended cleaning guidelines. Without following those instructions it could deem your clients warranty invalid.
To determine the type of floor, you can do a 'smudge test' by drawing your finger down the grain of the wood; a surface sealed floor will not leave a smudge. If a smudge is left behind, the floor has had some treatment applied, such as a penetrating seal, an oil finish, shellac, varnish, or lacquer, which has then been finished off with a wax.
You have to be careful not to use harsh chemicals on treated floors as it can damage the protective coating.
Surface sealed floors are easiest to clean as they are resistant to water damage. Do not use abrasive chemicals on these types of floors though as they can dull the surface. If you do not have access to the manufacturer's instructions for cleaning, opt for the safest option of soap and water.
Dishwashing liquid in a bucket of water will do the job.
Water and wood do not mix well, so do not use too much water when mopping. Rinse out the mop as much as possible so that it is damp and not wringing wet. The technique for mopping a floor should be to use the mop in the direction of the grain of the wood. Not against it!
Once you have finished mopping with soapy water, go back over it with water only to lift up the remaining residue, thus giving a shine to the floor as you go.
Stubborn areas with ground in dirt may require you to get on your knees and apply some elbow grease. For best results use a damp cloth for scrubbing stubborn patches - not a sponge. Sponges absorb and release more water than a cloth, and since you want to minimize the water going onto the floor, a cloth gives you more control.
8.7: Cleaning Treated Floors
Treated floors are easy to maintain when the treatment is still effective.
Soap and water will suffice but eventually the floors will need the treatment renewed.
Old wax needs to be removed using a stripper (refer to the manufacturer's recommendations for the products to use).
You will need either a liquid or paste wax. A paste wax gives more protection as liquid wax leaves a thinner protective coating; so for a longer lasting finish – paste wax is best.
Generally, treated floors only require this treatment once or twice per year, although spot treatments to high traffic areas can be applied.
To apply the treatment, vacuum first to remove dust and then apply the stripper to remove the old wax, paying attention to product guidelines. The stripping solution is rubbed into the wood using a cloth and you should keep the area well ventilated while you are working, which also assists in the faster drying of the floor.
Once the floor is dry, it is ready for the wax to be applied.
For liquid wax, you will have an applicator to use, following the guidelines that comes with the product. For paste wax, apply it with a cloth.
Once the wax is dried, apply a second coating for added protection and a long lasting shine.
The final process is to buff the floor to a shine.
You can do this with a cloth, or for professional results, a buffing machine can be used. Whichever method you use to buff the floor, be sure you work in the direction of the wood grain.
It is important to note that this is not a typical service associated with cleaning professionals, as it is a specialist floor maintenance service. However, knowing this process will help should you find yourself in a situation where a customer feels you have done a poor job, resulting in a dull finished floor.
Without knowing this you could be overly cleaning a hardwood floor with no visible results, as it is the wax treatment the floor may require - not a professional clean.
8.8: Computer Monitors & Television Screens
Whether you are offering home cleaning services or cleaning offices, you are going to encounter either television screen(s) or computer screen(s) to clean. When you do so, you do not want to be leaving streaks behind, blurring the view on the screen.
You need to know the right techniques and solutions to use on the appropriate surfaces.
Modern televisions are very different from the older tube TVs which had glass surfaces and were cleaned in the same way as windows and mirrors. Plasma screens and LCDs have a type of plastic coating covering them, which can be damaged if you use abrasive chemicals to clean them
For office cleaning, you will want to be doing this outside of the office opening hours, as the computer screens should be turned off.
You also cannot see the dust as well, or any stuck on grime due to the glare of the screens, which is why cleaning should be done when the appliances are off.
If you are not on the premises outside of the usual working hours, you will probably only be able to dust the screens and not get the proper cleaning done.
For optimum results when dusting you should use a lint-free cloth, as they do not leave any fluff behind on the surface. Microfiber cloths also work well at removing dust. However, for cleaning, it is completely different because the pixels on the screens can be easily and permanently damaged.
With that in mind, you should never spray any cleaning solution directly to the screen.
If there are stubborn marks, such as sneeze residue, on computer monitors, you have two options for cleaning them:
- Use a specific cleaning solution designed for LCD monitors
- Use water only
For both you should use a microfiber cloth and neither water nor cleaning solution should be applied directly to the screen. It should be applied to the microfiber cloth, which is then wrung out to ensure it is only damp and not wet. With the damp cloth, gently rub onto the screen in a circular motion to remove the marks. A further clean and dry microfiber cloth is then used to dry the screen. Never leave any water or solution on the surfaces.
8.9: Cleaning Specialist Surfaces
Vinyl
Vinyl flooring is very easy to maintain.
However, that is only the case if it is cleaned regularly and with the right approach.
You need to respect the purposes of vinyl. They are designed to have no need for waxing. The wax is already pre-applied to the material, giving it a long-lasting lifetime. However, because vinyl is most often used in kitchens, asphalt and ground in dirt is trailed through on shoes (although not always visible) and affects the quality of the floor. Those compounds do not mix well on vinyl and result in the floor yellowing over time.
Regular sweeping of debris is necessary on vinyl floors, so advise your clients to take a sweeper over it daily to prevent discolouration.
When cleaning vinyl you cannot use a wax cleaner. You can only apply a mild detergent and the best for that is plain old soap and water. Add a bit of washing up liquid to water in a mop bucket and get to work mopping it.
When mopping, do not drench the floor, although the mop head must be as damp as possible. Too much water will get into any cracks, edges and seams around corners and bottom of floor-units, which can destroy the glue holding the vinyl in place. Do that too often and the vinyl will eventually come loose, corners will start to curl up and the professional looking floor will be destroyed, rendering a new floor covering inevitable.
Remember - damp mops at all times, with the mildest of detergents. The water you use should not be hot as that will affect the glue holding the vinyl down. Use lukewarm water only.
For best results, when a vinyl floor is very dirty and more water needs to be applied, be sure that there are two mop heads available. One to mop the mild detergent over the floor and the other should be dry to pick up excess water as you go.
The biggest factor in loss of shine on vinyl floors is the incorrect use of chemical cleaners with a high PH balance.
Neutral PH cleaners are best as they will not attack the wax covering on vinyl, which is why a mild detergent is good. The approximate PH level of washing up liquid is 9.4 on the PH scale. A little on the high end as neutral cleaners range between PH 5 and PH 10.
Vinyl
Marble
Marble is a porous stone and as such is liable to staining and discolouring.
As for cleaning vinyl, a neutral PH cleaner is required also for cleaning marble. A microfiber mop works best for marble floors and, depending on the extent of cleaning required, it may be sufficient to clean with warm water only.
Only use a mild detergent on marble floors if necessary. Water alone has a neutral PH balance, and provided it is lukewarm and not cold, it will do a good job at cleaning to a shine.
However, the difference with marble is that you cannot allow it to air dry as you will lose the shine you have worked to achieve. To maintain the shine you must dry the surface immediately, therefore a dry mop is essential. That is why a microfiber mop is recommended. You can use one damp cloth on the mop to clean the floor, replacing the pad with a dry cloth to run over the surface and dry it.
For marble surfaces, such as worktops or fireplaces, the same caution should be taken. Use lukewarm water only with mild detergent if required. Clean first with lukewarm water and then dry off with a chamois, which is the best material for absorbing water.
Marble
Granite
Granite is another porous stone that requires delicate care when cleaning the surfaces.
For cleaning granite surfaces, you will need a sponge and a microfiber cloth, with a large bowl, or use the sink to fill with warm soapy water using a mild dishwashing detergent (i.e. neutral PH balance). Mix the soapy water to form suds (bubbles), as that is what you will be using to clean the surface and not the water itself.
Once the suds form, it is that solution that you will use to clean with a sponge. Ensuring the sponge is not soaking wet but only damp with the soap suds, rub the suds over the granite surface to clean it. When you are finished cleaning you will not see a shine. You will need to buff the surface with a dry microfiber cloth to bring the surface to a shine.
After this, if you find you are unable to attain a shine, it is probable there is still soap residue on the surface, causing a streaky and dull finish. If that does happen, wring out your cloth as much as possible and dry the surface again to remove any leftover soap residue from the surface, and dry it in the process.
Only when no residue is left and the surface is dry will granite be left with a shine.
Granite
Tiles & Grout
One of the more troublesome areas of cleaning is tiled areas.
Be it tiled walls, floors, or splash backs in kitchen areas, the tiles themselves are not difficult to clean. It is the grout between the tiles that forms the challenging part.
The reason is simply down to the nature of tiling. Tiles themselves have low porosity, meaning they do not absorb liquids. Grout on the other hand is porous and does absorb liquid. That can lead to discolouration and that is what many find difficult to clean, without resorting to replacing the grout.
To clean the tiles themselves is straightforward. Warm water sprinkled over the tiles first will help activation of a general all-purpose cleaner.
The first step is to run the hot water tap, filling up an empty spray bottle. Spray the hot water over the tiled areas and leave it for a few minutes. Return to spray over the all-purpose cleaning solution, spraying areas as you go from top to bottom, using a microfiber cloth to clean in a circular motion.
Once the tiles are cleaned, dry them off with a clean microfiber cloth, ensuring that any cleaning solution is removed from the area, preventing it attracting more dirt and grime. All chemical cleaning solutions must be removed for longer lasting cleanliness.
Grout cleaning can be done in one of two ways.
The first of which is by use of a steam cleaner with grout cleaning attachments. Some are hand-held, whereas others have crevice tool attachments, specifically designed for grout cleaning.
At the end of the attachment there is a brush and the steam is applied through the brush tool. You can use the attachment to spray steam directly onto the grout, working from the top and brushing your way down the tiles. Be sure to dry any lower surfaces as the water from the condensation runs down walled surfaces.
If you are not using the steam cleaning approach, it is the same technique without the power of steam penetration. Instead, you will use an all-purpose cleaner to spray onto the grout, with a scrubbing brush to scrub away the dirt, grime, and grease from the surface of the grout.
For white grout it is safe to use bleach, but you cannot use it on coloured grout as it will cause discolouration.
Tiles & Grout
Leather
The last thing you want to do is leave a leather sofa behind with cracks on the surface due to ineffective cleaning.
Leather is difficult to clean and therefore, unless absolutely necessary, cleaning should be avoided.
The benefit of leather is that any spills can be soaked up immediately, so stains are rare. However, what is not so rare is damage to the leather (cracks appearing or discolouration) due to use of harsh cleaning solutions..
For regular maintenance of leather furniture, it should only be dusted and gently vacuumed. The vacuum's suction power must not be too strong; if your usual vacuum has a strong powerful suction, you may prefer to switch to a lower powered hand-held vacuum that you only use on leather furniture, or other delicate areas requiring vacuuming.
Do not just vacuum the surface of the sofa. If cushions are removable, then take them off to get underneath the seating areas and backs, where most of the dirt will be found.
Use a hand brush and pan first to get rid of any larger particles, and then use the appropriate vacuum attachment to eliminate smaller dust particles. Replace any cushions that have been removed and then dust the leather with a dry cloth.
If you find there are troublesome spots that require cleaning, then only treat it with warm water first, using a soft damp cloth. Do not rub the leather too hard as that can damage the surface and push the dirt further into the leather fabric, making it more difficult to get the dirt out.
If that does not work, then use warm soapy water. Use the suds only to softly rub over the top of the leather, ensuring that you do not overly wet the material. You should find that the soft detergent and gentle application to the leather will be enough to remove marks.
If that still does not work, then you will need to apply a leather cleaner product to the furniture. Before doing this refer to the care label and cleaning instructions, as some leather types cannot have any solutions applied to them, and/or only a product recommended by the manufacturers.
If you are using a leather cleaner always adhere to the instructions provided. After any cleaning of leather furniture it is important to apply a protector over the surface. Some are available in the form of sprays, whereas others can be simple leather wipes that leave a protective coating behind.
Leather
8.10 The Standards Expected of a Cleaner
It goes without saying that the typical standards expected of a cleaner are high.
However, it is natural for prospective cleaners to worry about what 'high' means exactly. This is especially worrying when you consider that there is someone out there somewhere who has higher standards than yourself.
As a cleaner, try to imagine that you are meeting the highest standards set by 5-star hotels. This means stains should not be visible. All surfaces must be clean and dust free. Windows should be clear, TV screens should be free from marks, surfaces and sinks should not be discoloured, and carpets and floors should look visibly clean.
Achieving high standards often means planning your cleaning jobs carefully. For example, you may have noticed that some sinks require soaking with bleach and cleaning powders. However, what should you do if you come to them at the end of your job? Bleaching toilet bowls, sinks, and other tough areas while completing other jobs allows you to maximise your time. Always think ahead, and you can achieve the best standards possible.
Module Summary
Before cleaning it is important to carefully consider each individual surface.
You cannot adopt a 'one size fits all' approach to your cleaning. Also, as part of your preparation you should ensure any surface you are about to clean is free from large particles.
Working methodically will ensure a better finish. For example, dust from top to bottom. Do this the wrong way round and you will be bringing dust back down on areas that you have already cleaned. When it comes to cleaning a little common sense can go a long way.
There are no set standards for what constitutes a 'high quality' clean, however, you should always give 100% to every job.
.svg)