
6.1 Introduction

A vital step in becoming a handyperson is to brush up on your knowledge of the basic tools you will be using in almost all of your jobs for your clients.
This module covers the different
types of tools you will be using and stresses
the importance of selecting the right tool. By the end, you should be comfortable with selecting the right saw or the right drill bit for various tasks and you should be comfortable locating
studs as well as deciphering what kind of wall you might be working with.
Activity 1
Estimated time: 10 minutes
Before getting into those basic tools, it would strongly
benefit you to jot down all of the ones that you have.
Grab a piece of paper and a pen and start writing down anything
you can think of, no matter how minuscule the tool may seem. Have a few different screwdrivers? Write down the type of each one. Just bought a tape measure? Write that down too.
Whilst we are not going to cover every single tool available, we will give you the basics and you will be able to determine
the certain types of tools you will want on hand. It will benefit both you and your future customers
to know exactly what you can and cannot do. At the end of this module, you can compare it to your list and see what you need to add.
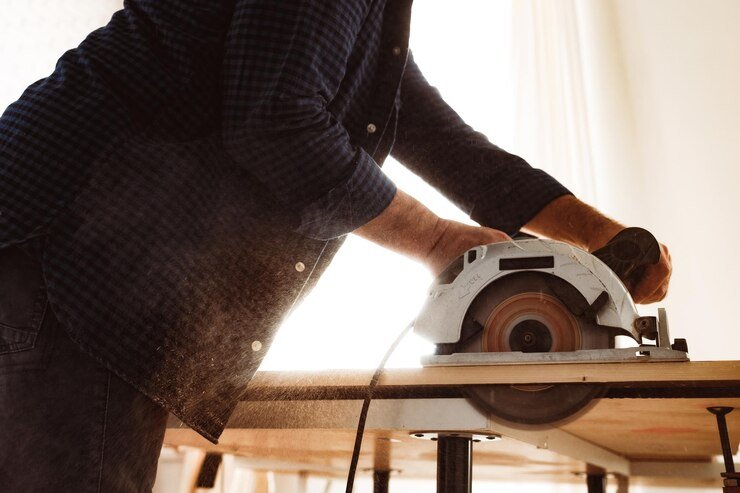
6.2 To the Basics: Working with Handsaws

Any type of carpentry work requires you to use a saw.
yourself with getting the cut straight, there is a lot more involved in working with a saw because the most important
thing you need to do first is to choose the right one for the job you are about to embark on.
If you are confused about saws, do not be. The first part of this module will take you through
a variety of saws, describing what each one is and what they are best used for. Armed with the right saw for the job, you can then learn how to cut straight the first time. This is also necessary because one cut at the wrong angle will result in high wastage,
which will certainly
increase your job costings. As a handyperson, you need to minimise waste. Otherwise, you will have increased job costings and a lower profit per project.
6.3 Five Basic Saws and Their Uses
The Crosscut Saw
The crosscut saw is likely to be the one you are most familiar
with. With this saw, each forward and backward stroke is cutting the wood and works to slice through it.
The teeth on these saws angle in an alternating pattern, making them ideal for cutting across wood grains, such as when cutting picture/dado rails.
larger than those found on other saws. Many feature a wooden handle, with the return edge at right angles to the edge of the blade without teeth, allowing you to also use it as a square and create right angles for material to be cut against.
The Rip Saw
Rip saws do not have either of those, but instead, the teeth are flexible when cutting. They will flex right and left on each push stroke and it will not cut on the pull stroke. This saw is best used when cutting parallel
to the grain of wood, as opposed to cutting
across the grain.
The rip saw is extremely
useful when it comes to cutting lumber, making furniture,
or any wood cutting task.
They include a plastic or hardwood handle and about half as many teeth of the crosscut saw, making its cuts not as fine as the crosscuts.
The Coping Saw
The coping saw is the most versatile
of all for cutting shapes,
but only when
used to cut
thin material. They are best used for cutting out intricate shapes within the wood itself, without having to cut from the edge inwards.
The coping saw is easily recognised because it has a very narrow blade stretched across its typically
U-shaped frame.
You can drill a hole in the wood, insert the thin blade, attach the handle and easily move the saw around to create whatever shape you need. Because the blades are thin, they are best used for cutting wood under an inch thick. Any thicker than that and a keyhole saw may be best, otherwise,
you could see yourself going through several
blades to get the desired cut.
The Back Saw
For most carpentry
work, you will need a backsaw. Back saws are used for creating dovetails,
half laps, tenons and other joints needed for connecting wood together to build whatever
you are making. The backsaw
has a reinforced back edge, to keep its thin blade from becoming distorted.
The back saw's design allows for better control and more precise
cutting. They are normally used for detailed
work, as they are very limited to the depth they can
reach. They typically
have closely spaced teeth, usually with little to no set.
The Keyhole Saw
A keyhole saw is an indispensable tool for cutting
holes. Maybe a hole needs to be cut out of a kitchen sideboard
to allow a pipe to be run through, such as what may be required to install a new washing
machine or dishwasher. Alternatively, it could be a new drywall partition installation that needs a hole cut out for a light switch or electrical socket/receptacle.
When there is a tight space and a hole needing to be cut, the keyhole saw is the tool to use.
have either a fixed blade or a retractable blade. In both types, the blade is usually secured by one or two thumbscrews. You may be wanting to use a power tool, such as the jigsaw or spiral saw, to get the cut done quicker, but the keyhole saw will perform the cut with much more effort.
6.4 How to Cut Straight with a Saw

You will need a few items, in order to perform this task properly.
Those items include:
![]() *Framing square
*Framing square
![]() *Marking knife
*Marking knife
![]() *Pencil
*Pencil
![]() *The correct
*The correct
saw
there to get a straight
cut. Without having a guideline
clearly marked on the wood, it will be a hit-or-miss cut. To get it right the first time, it is all in the preparation.
The next thing you will need is
weight and you achieve this in one of two ways. The first (and preferred) is a
workbench, as you can use the vice grips to secure the wood in place. The
alternative is to secure the wood by placing your knee onto it to weigh it down
to a solid surface.
With the wood secured in place, the next part,
which is critical, is to get your stance perfected. If you stand to one side of the wood, your cutting motion
will veer to the one side and you will not get a straight cut.
Before you make the first stroke, your saw should be an extension of your arm, as in your shoulder
should be in line with the saw.
An easy way to check your stance is to correct it by closing one eye at a time. When you close one eye, you should have a clear view over one side of the saw blade, and when you switch to close your other eye, you should see the opposite side.
When you can achieve that proper stance, you are positioned correctly
over the wood, which means you are better positioned
to work the saw down through the wood in a straight
line.
Start by prepping the wood first and then secure it. Check that you have a clear vision of both sides of the blade, which lets you know that you are positioned over the wood correctly - and then start cutting.
Make the first cut a single stroke,
just to position the saw
into the guidelines
and then slowly work into the wood.
Once you have the cut from one end of the wood down to the opposite end of the first guideline you scored into the wood with the marking knife, it is then just a case of keeping yourself positioned over the wood, to work it down with a straight cut motion.
You will find that cutting
straight is much easier to achieve, when you position yourself correctly. If
you are forever getting the cuts off line, give that method some practice with
some old bits of wood and you will be a pro at cutting straight lines with a
handsaw in no time.
Fact
Most homeowners spend an average of £305 per handyperson job.
Source: Homeadvisor.com
6.5 Drilling Holes
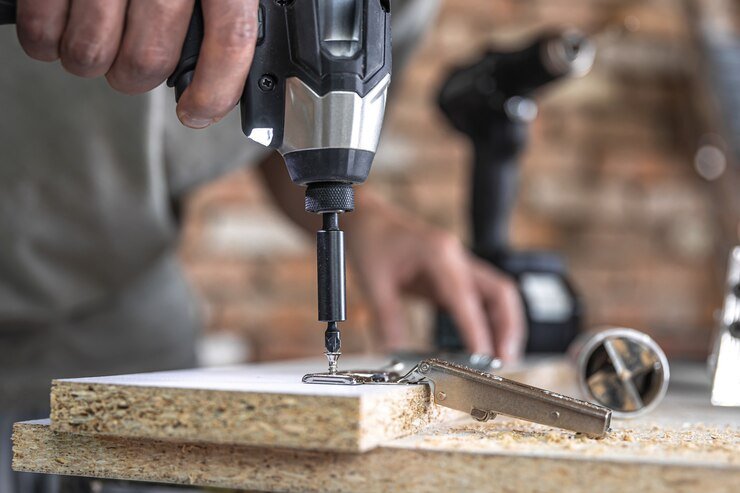
As with sawing requiring the right saw for the job, the same rule applies to drilling
holes - and you will find various drill bits to perform various jobs.
You must use the right one for each job, which will be based on the material you are working with. When you first start out offering your services, you will not need every type of drill bit, but there will be some that are essential.
Other drill bits can be bought as you need them.
Steps should be taken, in order to ensure the utmost safety while drilling a hole.
Those steps are:
![]() *Have a plan already
*Have a plan already
in mind on what you will be needing and doing to complete the job at hand.
![]() *Have your tools and materials selected
*Have your tools and materials selected
and nearby and at the ready for you to use.
![]() *Do not have anything
*Do not have anything
that you do not need to work on your job, meaning keep your workspace clean, organised and free of clutter.
![]() *Use safety glasses, close-toed shoes and snug clothing to stop your shirt sleeve from getting
*Use safety glasses, close-toed shoes and snug clothing to stop your shirt sleeve from getting
tangled in your tool.
![]() *Put the hardware in a nearby tray, belt, or other type of container that you can keep close, so you do not need to get up and leave your work.
*Put the hardware in a nearby tray, belt, or other type of container that you can keep close, so you do not need to get up and leave your work.
![]() *Never begin a project
*Never begin a project
if you are tired, frustrated, or have consumed
any alcohol.
Activity 2
Estimated time: 10 to 20 minutes
You will now create a safety checklist
that you can use for all your future projects,
to ensure your own safety and preparation for excellent work. Include the following information for yourself, as well as anything you might want to add.
Bring the finished
copy to a nearby office store and have it laminated. You can reuse the same checklist over and over again with a dry erase marker.
These steps and notes should be included
in your own self-evaluating safety and preparedness checklist:
![]()
in the order you will need to use them, before beginning
any task. You can keep them on a tray or in a tool belt. There are even work aprons you can get, with pockets that will help keep you organised.
![]()
your tools according
to type and create designated
locations for them. When finished,
return each tool to its proper location.
Get creative. If you have difficulty seeing
certain colours or differences in material, wrap
different coloured electrical
tape around the handles to help better organise them.
*Protect your eyes: Regardless
of your visual status, you should wear safety glasses to protect your eyes from outside intruders.![]()
*Protect your ears: You will need to wear plugs or ear defenders
if using any type of power tool that is loud.![]()
![]()
fixture, or you can invest in a flexible floor lamp, which allows you to not only bend the light to where you need it but also roll the lamp around the room.
![]()
a task such as changing a light bulb or mending the wires in a socket/receptacle, make sure the electrical source is turned off, whether by the switch in the room or shutting off the correct fuse.
![]()
cord: The thickness
of an extension cord should be the same or greater than the cord from the power tool you are using. Otherwise, the cord can overheat and cause fire or severe burns.
![]()
opportunity and pay attention to everything the professional does or does not do.
6.6 Types of Drill Bits
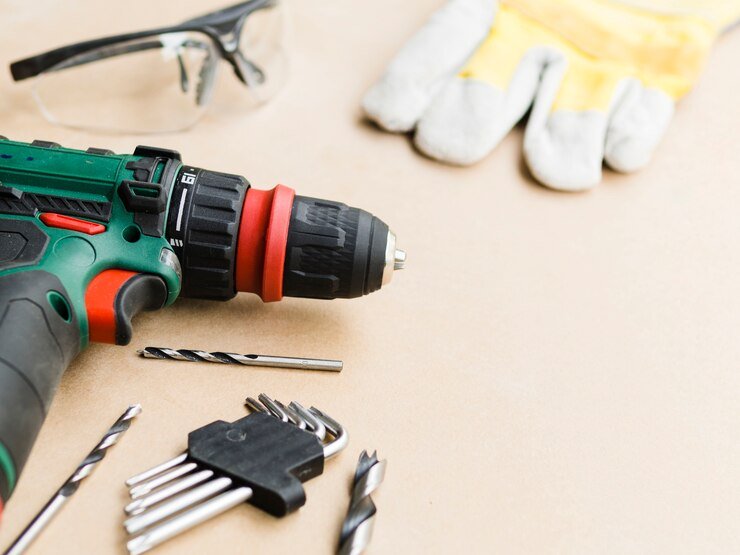
The key to getting a precision hole on any material is to first select the right drill bit for the material
you are drilling into and then let the drill do the work; especially with brick, cement and tile.
Use of force on these materials will result in damage to the drill bits and possibly, the materials too. Tile bits used with force will break the tiles, whereas
using force with masonry drill bits is more likely to break the drill bits.
If you find it difficult
to get the drill bit to drill into tougher
material, the trick is to apply more speed from the drill, as opposed to applying
more pressure. The drill should be doing the work and your hand only guiding it.
You should familiarise yourself with the following types of drill bits:
Pilot drill bits: These are best suited to drilling pilot holes into wood when your intention
is to put a screw into the hole. The pilot drill bit has a pilot point on the tip of it, making for easy precision. Wherever you have marked the wood for the hole to be drilled, simply place the point of the drill bit into the mark and drill straight into the wood. You should be extremely
adamant about choosing
the correctly sized pilot drill bit to create the proper size for the pilot hole.![]()
Drywall drill bits: These are used for drilling into drywall, sheetrock and plasterboard. You will find most interior partition walls are made of these soft materials.
External walls will be of harder materials.![]()
Spade drill bits: Spade drill bits are used for getting
holes cut into the wood but not necessarily going all the way through.
These can be used for making countersunk cuts for placing
hinges in cabinet doors, such as in kitchen cupboards.![]()
Speedbor drill bits: Speedbor
drill bits are a variation
of the spade drill bit, with the only difference being the design of the drill bit helping to remove the waste as you drill. This gives you an ultimately cleaner
cut. Note that because these remove the dust as you drill, it will be dustier.
When using this type of drill bit, wear a dust mask and ventilate
the room.![]()
Forstner drill bits: Forstner
drill bits are used for precision countersunk holes, as they give a flat bottom to the hole you cut into the wood.![]()
Hole saw drill bits: These are used for making large through holes, such as what is needed on doors to fit a new lock.![]()
Masonry drill bits: Masonry drill bits are much tougher and designed to drill through stronger material,
such as brick and cement.![]()
Tile drill bits: Tile drill bits have a specific design with an extremely sharp point on them, in order to drill through delicate materials, mainly tiles.![]()
It should be reinforced again that the right drill bit should be chosen for the right task. Do not slack on this.
For example
It is possible to use pilot drill bits to drill into tile by using masking/decorating tape or some sort of adhesive to stick to the tile and prevent the drill bit from sliding everywhere.
However, as a professional service provider, this is not advised. You are best to use the right tool for the job, so if you are ever required
to drill through tile, buy the tile drill bits for the job.
to drill through tile, buy the tile drill bits for the job.
Other TYpes of Drilling Tools
If you are not comfortable with the power drill, there are some other tools you can use:
Hand-operated drill driver: The hand-operated drill driver operates
with a crank. When turned,
it will power the gear mechanism, which will turn the attached
chuck and drill bit. They are cheap to buy and are quite handy when working in tight spaces, due to their small size.![]()
Hand brace drill: This is also known as a “brace and bit” drill. It works the same way as thehand-operated drill driver but does not have the gear mechanism involved.
The top of the brace drill has a knob and below that is a U-shaped
grip, which is used by the operator to turn the chuck and bit at the end of it.![]()
Power drill driver (preferred): The power tool driver is by far the best tool you will have, because you can attach a magnitude
of bits to the chuck, making it multipurpose.
and have a long battery life, but you should of course test it out for yourself. What one person recommends as the best power drill may not be the best for you.
More on the Power Drill
For charging purposes,
you certainly do not want to go on a job with a cordless
power drill only to find the battery packing in midway through a job. Lithium-ion batteries
have a long life and often have short charge times too. It also will not hurt to have a spare fully charged battery
on hand just in case it does go flat midway through a job.
Some of the best deals on power tools are found online,
but we would advise going to your local hardware
store and getting a feel for the different power drills available.
Check the quality of the chuck and get a feel for how comfortable you are with the weight of it. This will avoid you buying power tools online, only to find yourself
returning them after finding them difficult to work with. There is no harm in checking
the drills in store to get a feel for them, noting the brand and model name as you go and then comparing the prices to those online.
When working with power tools, you need to remember
that whilst the power they house can be harnessed
to make your job much easier, they can just as easily turn a simple handyperson service into a service from hell.
warranty claims to be made against your insurance policy.
Before you take the drill from your belt, assess the area first. You need to know the material you will be drilling into and select the appropriate drill bit for the job. When assessing
the material, assess the area too. It is advised to use a stud finder, preferably one that alerts you to live wires behind the wall. You will most certainly want to establish
that there are no electrical wires, so you do not hit them, because once you do, the damage will cause limitations to you, as well as highly expensive
repairs.
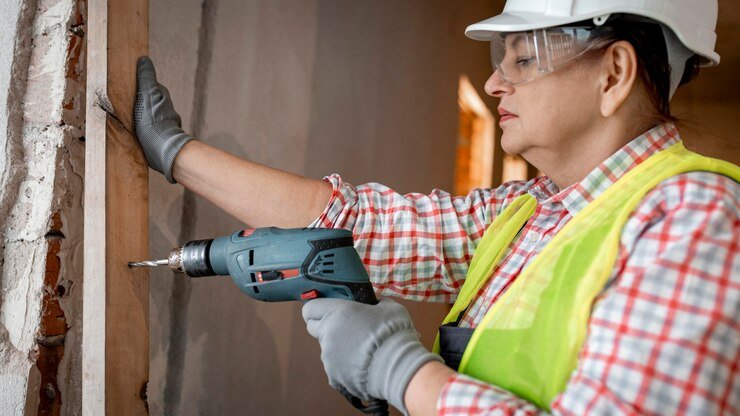
6.7 Know Your Walls

Pay close attention
to walls joining onto bathrooms, because there will be water pipes running behind those.
Electrical outlets will run down the wall, so do not drill under those, especially on upper floors of homes as they will always run down to the first floor. The other area to pay attention
to is close to light switches.
Before fixing anything to any wall, you
need to know the material you are about to drill into. You may be tasked with hanging floating
shelves, securing a large bookcase to the wall, or hanging a gigantic
picture frame.
No matter what you are about to secure to any wall, you need to determine
what it is made of. Your hands
are all you need.
Interior walls will be one of two materials - either soft or hard:
![]() *Walls with soft material
*Walls with soft material
will be made from drywall
or plasterboard.
![]() *Walls with hard material
*Walls with hard material
will contain brick, concrete, or breeze block.
Knock on the wall with your knuckles
- if it is a soft material,
it will make a hollow sound. If it is a hard material, it will not. Double-check on a different
spot though, because you might be knocking
on a stud the first time, which is solid. Do not mistake the wall materials, due to a non-hollow sound.
For external walls, you will find the majority are made of harder materials, such as brick, concrete and breeze block. Interior walls are mostly drywall or plasterboard because they are cheaper building
materials. To drill into hard materials used on external
walls, use masonry drill bits. For drywall
and plasterboard, pilot drill bits will do the job.
Studs
The studs are timber frames and are a solid structure in any home that provide maximum support.
These are where you should attach shelves,
curtain rods and even television brackets to hang the TV on the wall. Find the stud and use that as the anchor. A stud finder with an electrical
detector will be one of your most-used
tools, alongside your power drill.
If you do not have a stud finder,
another technique you can use to locate them is a magnet and a piece of string, because all the studs
behind walls are joined with metal fasteners. As you know, magnets
will be drawn to metal.
However, take care to note that the thickness
of the wall may prevent this technique
from working.
Fact
In UK homes, studs are situated about 400 millimetres apart.
Source: Diy-extra.co.uk
6.8 Drilling a Hole: Made Simple
Here is how to drill a hole, without making a complete mess of it.
First off, you will need to use the above information and locate the stud(s). The strongest anchoring
you get will be drilling
directly into the stud. You should then mark the spot you will be drilling into. Rather than just a dot, which can be difficult to go back and find, you might find it better to draw a V, with the bottom point of it being where you will drill.
Create a tiny hole in the mark with a nail punch, so that your drill bit fits into the hole and does not slip out of place when you turn the drill on. If your drill does not have a depth guide on it, use a little piece of masking tape on the drill, so you know how deep you need to go and do not end up drilling
further. Drill your hole. You should then place an anchor into the hole, which will hold your screw in place.
Choosing a Screwdriver and a Screw
Surprisingly, many people do not know how to accurately pick out the type of screwdriver they need for the screw they are working with. Often, they will force the incorrect
screwdriver into the hole of the screw and usually
end up stripping it. It is important
to remember to choose the correct screwdriver when you are performing one of your jobs.
For example
You would not use a Philips head screwdriver to try unscrewing a slotted screw.
Not only do you have to match the end of the screwdriver to the shape on the top of the screw, you also must ensure you have the correct size screwdriver. Be sure to choose one that fits snuggly whilst seating itself into the screw head. If it is loose, it will not screw properly and will more than likely cause stripping.
The same is true of the screwdriver that is too big for the screw and not all of the tip goes into the screw head.
Some of the worst issues arise from the improper
use of screwdrivers and screws.
If the worst has happened,
you can attempt to use a pair of vice-grip
gloves to remove the screw. If those do not work, you are left with two options - you can try to use a power tool referred to as a Grabit or an EZ- Out.
This is a special drill bit with large teeth to grip and turn the damaged screw head.
If the screw is too weak, or if you do this improperly, you will have to resort to the second option,
which is to drill the screw out with a drill bit that is slightly larger than the screw itself. You will then have to use a tap and die set to re-thread the hole and then insert a larger screw.
Module Summary
This module gave you a good overview
of what a lot of the basic tools you will be using are called, as well as what each does.
You were introduced to a variety of different saws and drill bits.
You were also informed of how to clean up and take care of your workspace, to ensure safety and organised work.
You then learned about handheld
drilling tools, how to locate studs and even different
types of walls.
The choosing of correct screwdrivers should have influenced the point that it is imperative for you to always choose the right tool for the task at hand.
In the following
module, we will go more in-depth about certain techniques
that you need to know, in order to be the best handyperson you can be.
.svg)