
MODULE 4
Basic Woodworking Techniques
Woodworking is a craft that requires precision, patience, and practice. Mastering fundamental techniques ensures strong, well-finished projects. Below is a detailed breakdown of essential woodworking skills:
1. Measuring, Marking, and Cutting Accurately
Accurate measurements and cuts are the foundation of woodworking. Mistakes at this stage can lead to misaligned joints and poorly fitting pieces.
Key Steps:
Use the Right Tools:
A quality tape measure, combination square, and marking gauge ensure precise measurements.
A sharp pencil or marking knife provides clear, fine lines.
Measure Twice, Cut Once:
Double-check all measurements before cutting to avoid errors.
Cutting Techniques:
Hand Saws: Use a backsaw for fine cuts and a coping saw for curves.
Power Saws: A circular saw or jigsaw is ideal for straight and curved cuts, while a table saw ensures precision for long rip cuts.
Mitre Saw: Best for accurate crosscuts and angled cuts.
2. Jointing Techniques
Joints connect wood pieces securely. The type of joint depends on strength requirements and aesthetics.
Common Wood Joints:
Butt Joint:
The simplest joint where two pieces meet at 90° and are glued/nailed.
Weak without reinforcement; often used with brackets or screws.
Mitre Joint:
Two pieces cut at 45° to form a corner (common in picture frames).
Requires precise cutting; can be reinforced with splines or biscuits.
Lap Joint:
Overlapping wood pieces with notches for better strength.
Used in framing and cabinetry.
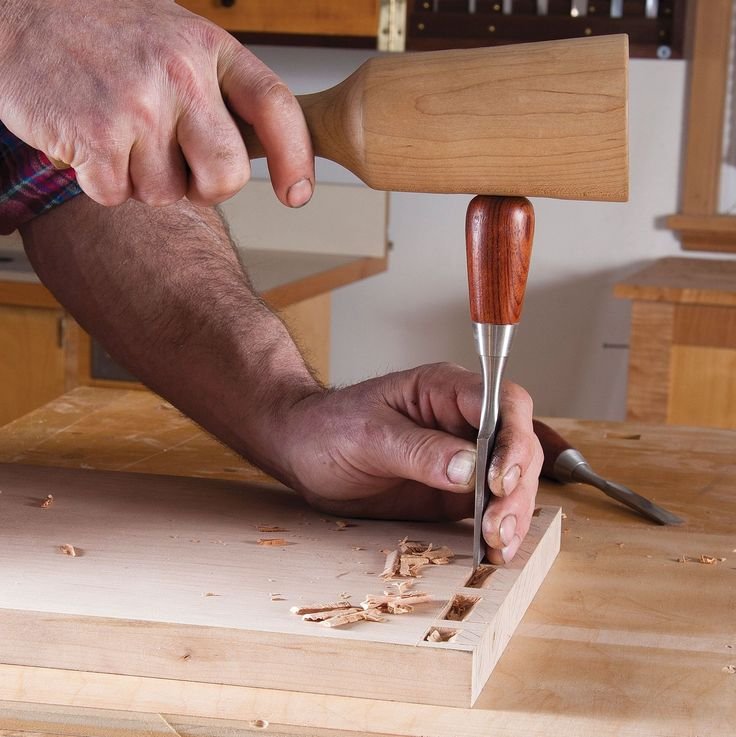
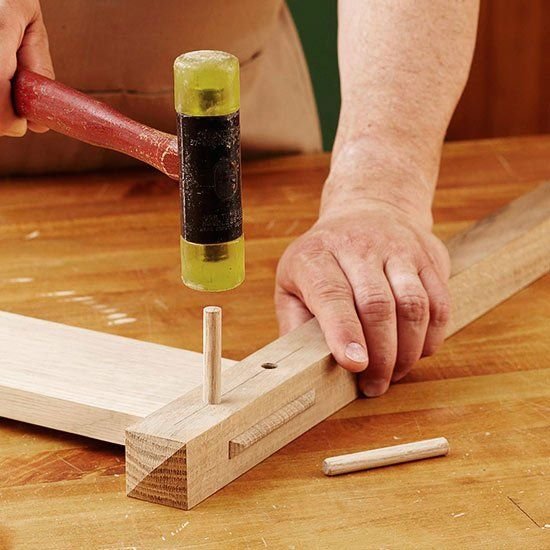
Mortise & Tenon Joint:
A tenon (protrusion) fits into a mortise (hole) for a strong connection.
Common in furniture making (e.g., table legs).
Dovetail Joint:
Interlocking trapezoidal pins and tails for superior strength.
Used in drawer construction for durability and aesthetics.
3. Planing, Sanding, and Finishing Surfaces
Smooth surfaces enhance appearance and prevent splinters.
Steps for a Smooth Finish:
Planing:
A hand plane or electric planer removes rough spots and levels surfaces.
Always plane in the direction of the wood grain to avoid tear-out.
Sanding:
Start with coarse grit (80-120) and progress to fine grit (220+).
Use a sanding block for even pressure; orbital sanders speed up the process.
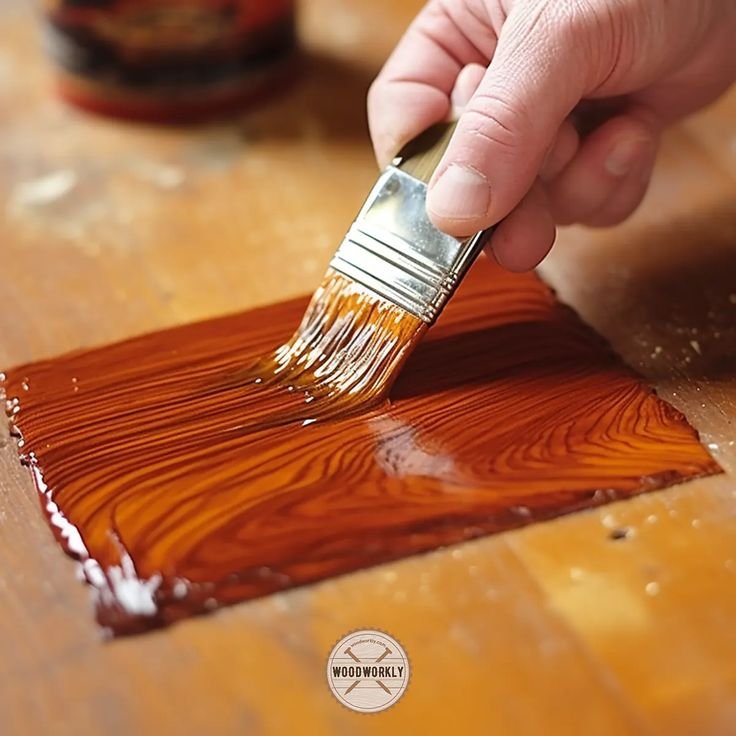
Finishing:
Staining: Enhances wood color; apply evenly with a brush or cloth.
Sealing: Polyurethane, varnish, or oil protects the wood.
Waxing/Polishing: Adds a smooth, lustrous finish.
4. Assembly and Clamping Methods
Proper assembly ensures stability, while clamping holds pieces in place while glue dries.
Best Practices:
Dry Fit First: Assemble without glue to check fit and alignment.
Use the Right Clamps:
Bar Clamps for long edges.
Pipe Clamps for heavy-duty projects.
Spring Clamps for light, quick holds.
Corner Clamps for mitre joints.
Glue Application:
Use wood glue sparingly; excess can weaken joints and create mess.
Wipe off excess glue before it dries.
Even Pressure:
Apply clamps evenly to avoid warping.
Allow sufficient drying time (usually 24 hours for full strength).
Conclusion
Mastering these basic techniques—measuring, cutting, jointing, finishing, and assembling—will improve the quality of your woodworking projects. Practice each skill individually before combining them in complex builds. Over time, precision and craftsmanship will become second nature.
.svg)