
MODULE 5: Repairs & Restoration
This module focuses on repairing damaged plasterwork and specialized techniques for historic/lime plaster restoration, essential for maintenance and conservation projects.
1. Patching Damaged Plaster
Assessment & Preparation
Identify the Cause:
Moisture damage (peeling/blistering)
Impact cracks (structural movement or physical damage)
Poor original application (delamination)
Tools Required:
Hawk and trowel
Scraper/wire brush
Plasterer’s rule
Mixing bucket
Step-by-Step Patching Process
Remove Loose Material:
Cut back to solid substrate with a sharp scraper
Undercut edges for better adhesion
Prepare the Surface:
Brush out dust and apply PVA (5:1 water) or bonding agent
For deep holes (>10mm), use mesh tape as reinforcement
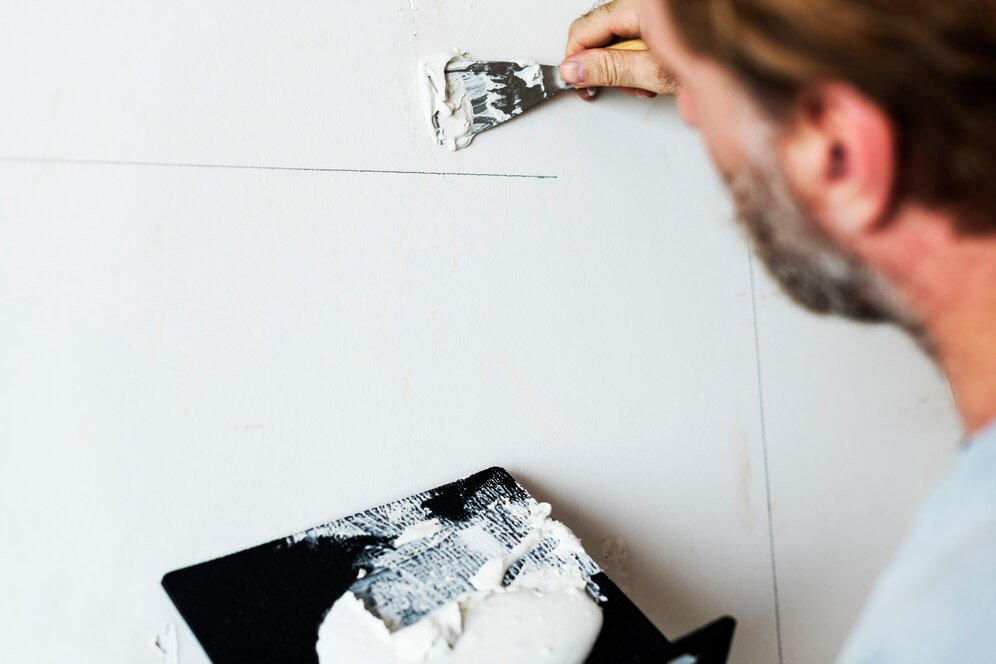
Application:
Small patches: Apply finishing plaster in thin layers
Large areas: Build up with bonding coat first, then finish plaster
Feather edges smoothly into existing plaster
Finishing:
Polish with a damp sponge for seamless blending
Allow to dry slowly (cover with polythene in dry conditions)
2. Fixing Cracks and Holes

Hairline Cracks (<1mm)
Solution:
Rake out with a knife
Fill with flexible acrylic filler
Sand smooth when dry
Structural Cracks (>2mm)
Repair Method:
Cut back crack in a "V" shape
Fill with lime mortar or elastic repair mortar
Reinforce with scrim tape before skimming
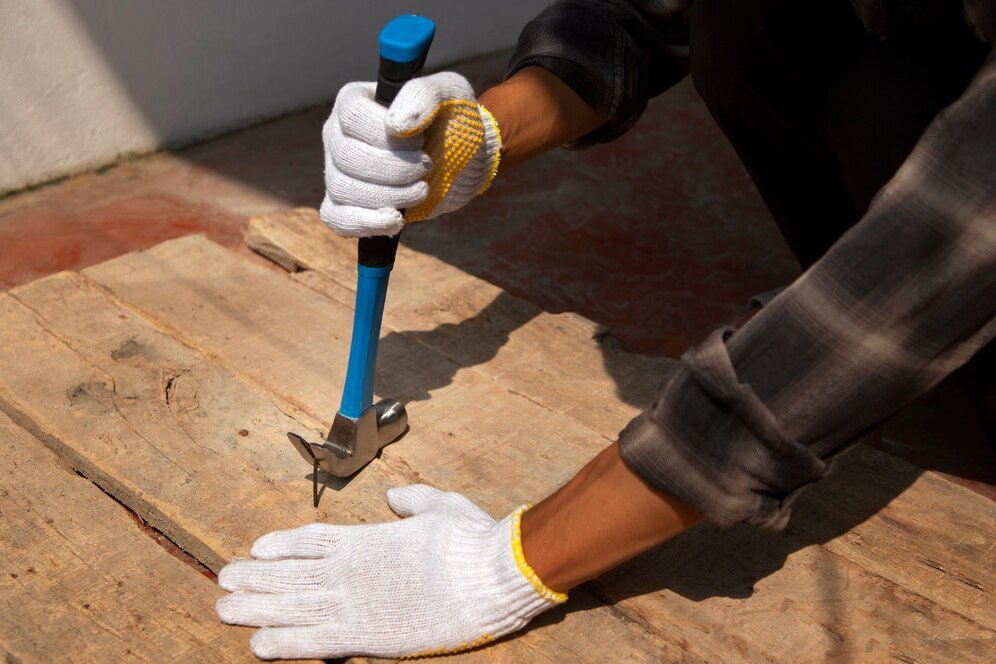
Holes (Nail/Screw Damage, Deep Gaps)
Small Holes:
Fill with ready-mixed filler in layers
Large Holes:
Pack with expanding foam (trimmed flush)
Apply hardwall plaster as base coat
Finish with multi-finish skim
3. Working with Heritage/Lime Plaster
Why Lime Plaster?
Breathable (allows moisture evaporation)
Flexible (accommodates building movement)
Historically accurate for period properties
Types of Lime Plaster
Non-Hydraulic Lime:
Air-curing (used indoors)
Slow setting (weeks to fully cure)
Hydraulic Lime (NHL 2.0, 3.5, 5.0):
Sets with water (faster cure)
Higher strength grades for different applications
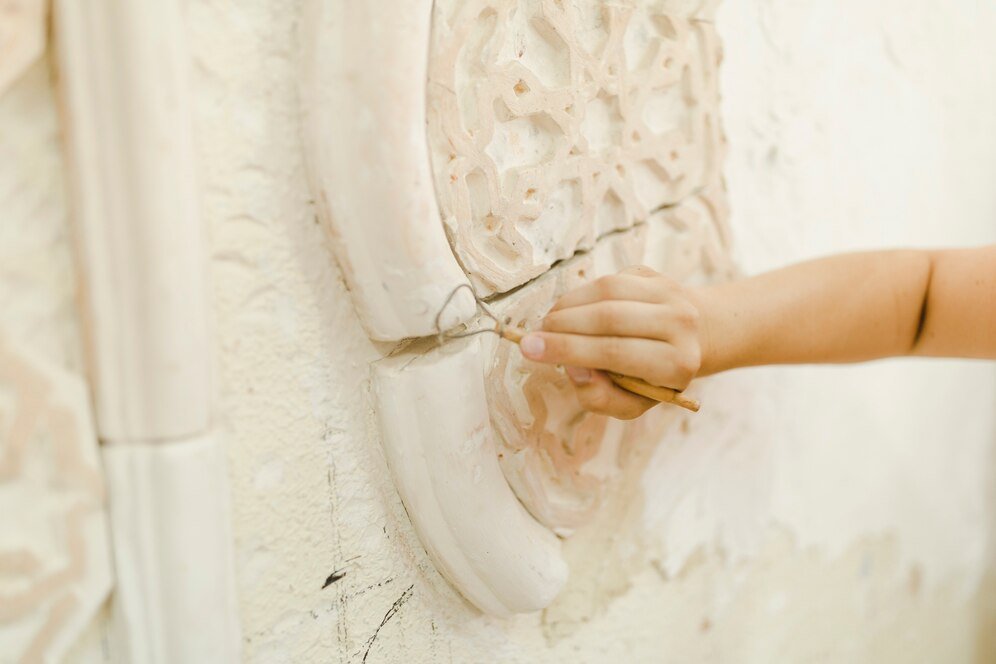
Restoration Techniques
Mixing:
Lime putty + sharp sand (3:1 ratio typical)
Add animal hair for reinforcement in base coats
Application:
Apply in thin layers (max 5mm per coat)
Keep damp for 7+ days (prevents cracking)
Finish with fine lime putty skim for smoothness
Common Challenges & Solutions
Key Takeaways
Modern repairs often use gypsum-based materials for speed
Historic buildings require lime to preserve authenticity
Crack repairs must address underlying causes (movement/damp)
Feathering edges is critical for invisible repairs
.svg)