
3.1 Introduction
The second module helped to prepare you for planting your garden, and this third module will take that a step further. You should now be at the stage whereby you are getting ready to plant. This module will take you through that process, step by step, ensuring that you are an expert planter, by the time it ends. We will cover a number of concepts in this module, including soil preparation, planning for planting, watering and fertilising.
3.2 What Comprises Great Soil?
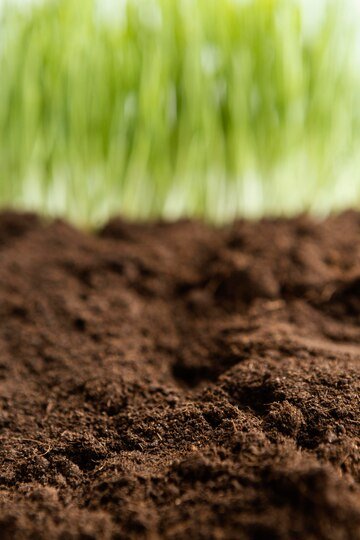
In an urban garden, you are either going to have some type of container, or you are going to create a garden in the existing soil. Either way, you have to properly prepare the soil for the plant. The big secret to an abundant, beautiful garden is great soil. To get great soil, the odds are good that you will have to invest both time and money into the preparation. Great soil does not just appear - you must plan, test and adjust the soil.
We have already talked about soil testing and pH, so you might already have this information available. We have also talked about the texture of the soil. What we have not yet discussed is what comprises great soil. The best soil is made up of several different ingredients:
Weathered rock
About 50% of any great soil should be made up of some type of weathered rock. We have already discussed how soil in the UK is mostly sandy or clay, and both are considered 'weathered rock'. Sand is considered the largest of the weathered rock particles, and clay is the smallest. Silt is a medium-sized particle. Loam is a mixture of these. Larger particles are broken down over time, due to winter freezes, wind, rain and other conditions.
Air
About 25% of great soil is made up of air. Although you cannot see air, it hides in the small pore spaces of the soil. These are the openings between the soil particles. Air is extremely important in soil because it helps to keep alive the microorganisms, which are present in all soils. It also helps to facilitate the delivery of nitrogen to the roots of the plant. To ensure that your soil stays aerated, ensure that you do not step on or pack down soil, as it crushes the air pockets.
Water
About 15% to 25% of great soil is made up of water. Like air, water gets into the pores of the soil, so, when soil is heavily watered, the air disappears. This means that any organisms in the soil, such as earthworms, are forced out. This is why you might see earthworms or other insects on the pavement, after it rains.
Organic matter
A small amount of great soil is made up of organic matter. Although it is only a small part, it is certainly one of the most important parts. Organic matter helps to create the air pockets in soil, and it also helps to hold in nutrients and moisture. The organic matter in soil is also a source of food for the microorganisms that live in the soil.
Organisms
Good soil should have organisms living within it. These organisms form a mini food web in the soil and include living things, such as fungi, bacteria, algae, nematodes, ants, spiders, mites and earthworms. This mini food web does several things; including helping the decomposition of organic matter, converting fertilisers into helpful materials and helping the roots absorb nutrients. If your soil food web is working seamlessly, you will have excellent soil for planting.
3.3 Preparing the Soil for Planting
If you are using potting soil in a container, you will not necessarily need to follow all of the steps below, but you should certainly read through them, to ensure that you know what goes into preparing soil for planting.
Removing the turf
If you are starting a new planting area, such as in a city allotment, you must remove what is growing there, including grass. Most urban gardens will be rather small, so you might be able to remove the turf, which is the top layer (grass layer) of the soil, by hand. You can also use a turf cutter or a spade. You can do this in the weeks before you plant, but top the exposed soil with newspaper, and then cover with compost. Thus, you have added organic matter to the planting area, before you even plant. You can also do this in the autumn and then have excellent soil for the spring.
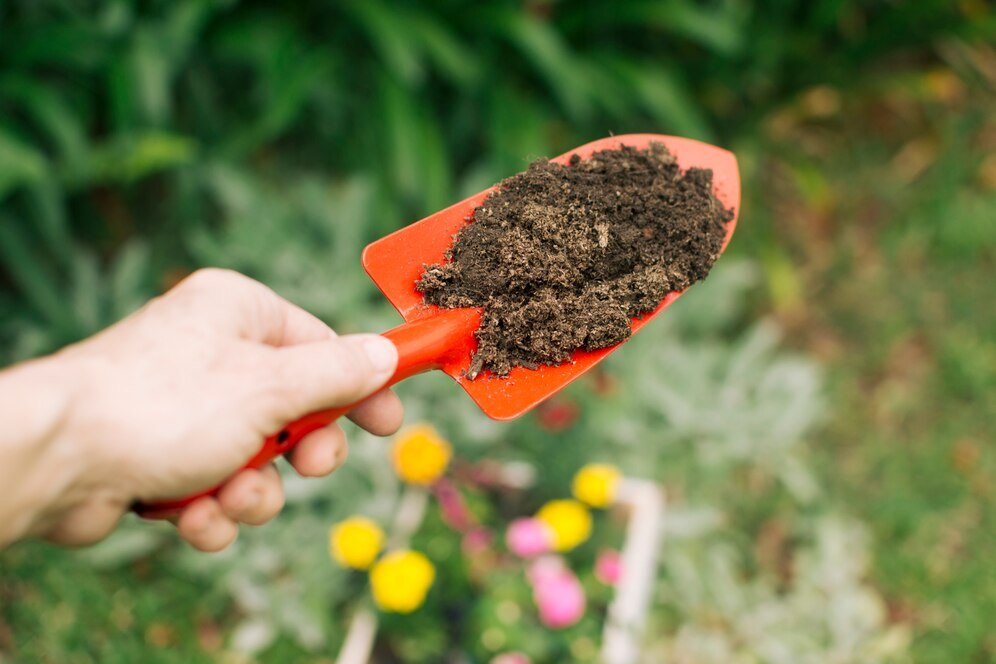
Adding organic matter
Adding organic matter, such as compost, before you start is an extremely important step in planting an urban garden. There are two major rules to remember in regards to using organic matter. Firstly, you cannot add too much, so feel free to keep adding it, and, secondly, you have to mix it into the soil. Every type of soil, from sandy to clay, beneβits from the addition of organic matter. Soil that is sandy retains more water and nutrients, when mixed with organic matter. Soil that has a lot of clay loosens up, when mixed with organic matter. This helps water to get through.
Of course, this organic matter also feeds the organisms in the soil, but, if it is only sitting on the top, it cannot reach the areas it needs to. Even if you are using potting soil or top soil, you can still add organic matter. The deeper your organic matter is, the better the garden will be. The only way in which you can add organic matter, in order to really get it down into the soil, is to do it by hand. You might do this with a digging fork or a shovel of some sort. You also might consider using a tiller, which can break up the soil, making it easier to mix.
If you can get the organic matter around a half metre into the soil, that will be great. If your tiller does not get that deep, you can try to shovel a few centimetres of soil onto a tarpaulin, and then till the soil underneath. Add the organic material, and then cover it with the soil you removed. This creates an ideal foundation for plants and seeds.
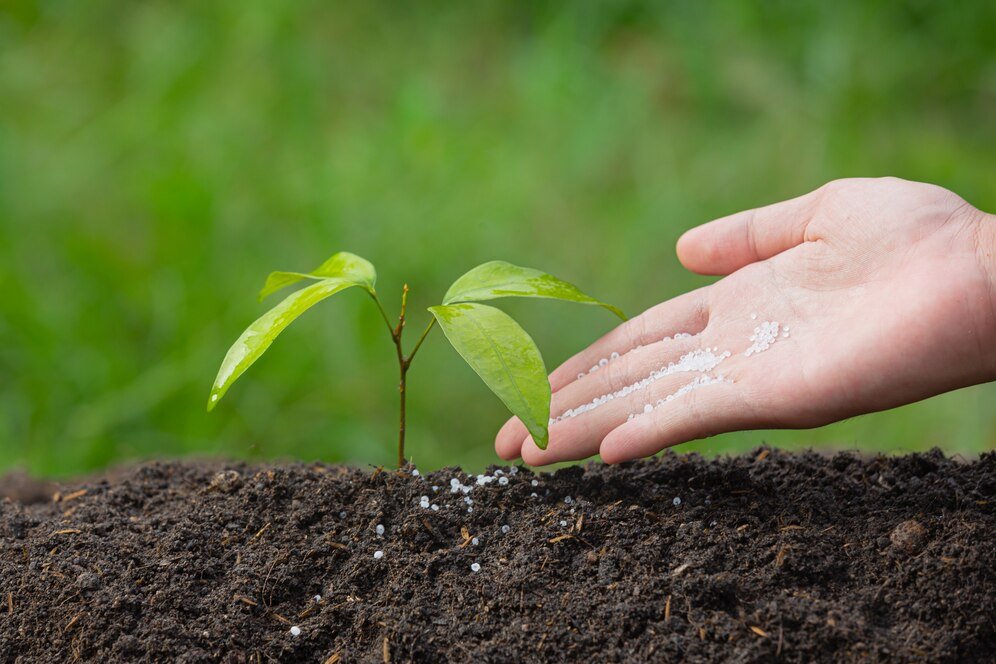
How does Fertiliser Fit in with the Creation of the Planting Area?
We have mentioned on several occasions that fertiliser is an important part of your urban garden, but how does it fit in with the creation of the planting area? Firstly, look at the results of your soil test, about which you learnt in Module 2, and then purchasethe appropriate fertiliser. If you are preparing the area for planting and using slow-release fertiliser, go ahead and add it now. If not, follow the directions on the packet. We will discuss fertiliser again, later in this module.
When is the Perfect Time to Prepare?
You might wonder what the best time of year is, to tackle this project. It is best to do it each season, such as in the autumn, to prepare for the spring, but sometimes this is not possible, especially when you first begin an urban garden. Therefore, when you first start, you can do it days or weeks in advance; just make sure that your soil is not too wet or too dry.
If the soil clumps too much or releases water, it is too wet. If the soil crumbles without any effort, it is too dry. It is best to water the planting area after it is prepared, and then wait a few days. With your planting area or containers ready for planting, you are ready to move on to the next step.
Activity 1
Estimated time: 10-15 minutes
If you are able to do so, and if you are going to be removing the turf for your garden, go to the site that you have chosen. Put your hands in the grass, and try to gauge how easy it is to pull the turf up.
If you have a small hand trowel, take that along.
Is the ground wet or dry? These factors also come into play. After you take a survey of your chosen area, think about which tools you need. Do you need a tiller? Can you do it all by hand? These aspects are very important to ascertain, as you progress with your urban garden
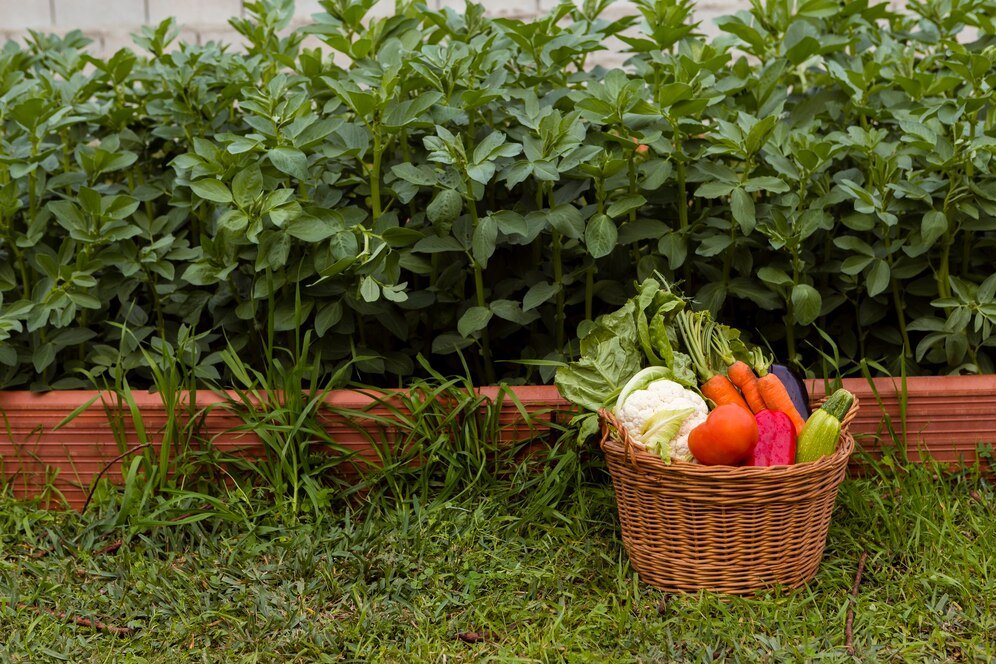
3.4 Making the Most of your Garden Space
The location of your garden has a big impact on either success or failure, at the end of the growing season. We have already discussed locations for a garden in a previous module, but we have not yet discussed how best to utilise the space.
An urban garden is probably going to be a bit smaller, or even a lot smaller, than a garden in the countryside, so, it is important that you learn how to make the most of the space that you have.
For instance
If you wish to grow crops or βlowers that are large and spread out, this takes up a significant amount of space. Gardens that are efficient when it comes to growing space are easier to care for, and they are much easier to manage in an urban setting. The following are some methods that you can employ, to efficiently use your planting area:
Do not plant in rows
The traditional way to plant a garden, especially a vegetable garden, is to plant the items in neat rows. However, there are other ways to design and plant a garden that are much more efficient.
For instance
You can use raised beds, which allow you to fit things in where you can. In fact, the fewer rows you have, the less wasted space you have. Remember, when you plant in rows, you must also create paths, so that you can access the plants. However, this takes away precious planting space.
As mentioned, there are some specific benefits that you might experience, when ditching the concept of rows, and, instead, planting in a more intensive manner.
For instance
When plants are placed close together, as they grow, the ground below is shaded, and this means that it will require less weeding, watering and mulching. Another benefit of planting a garden without rows is that the soil will be less compacted. The more you walk on the soil, the more it becomes compacted. Remember, when the soil becomes compacted, it creates less space for water and air, both essential ingredients to great soil.
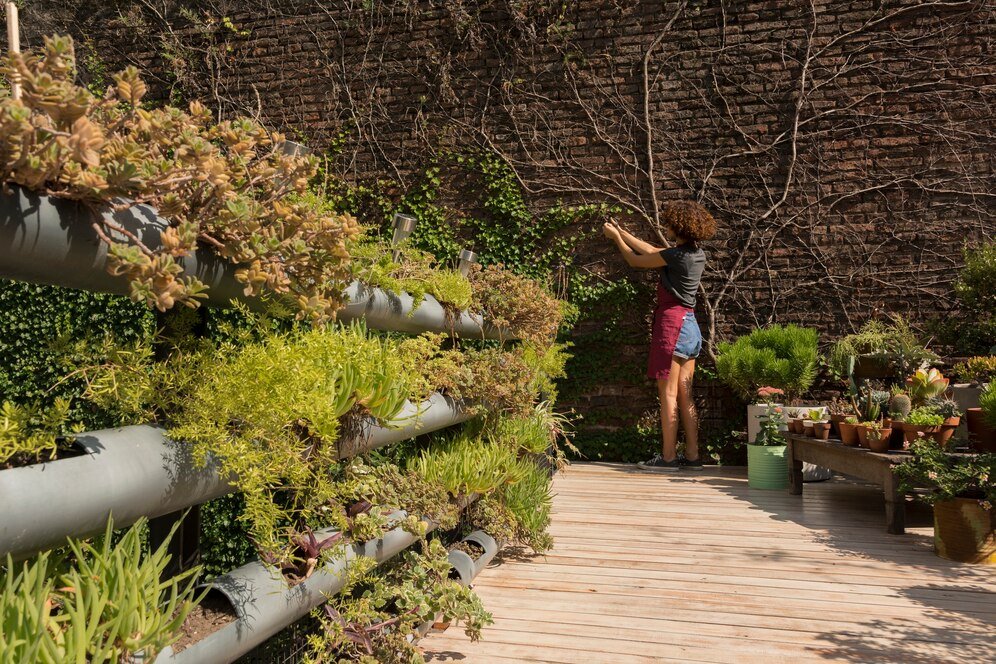
Grow up, not out
In addition to planting in a more intensive manner, another option to conserve space in a small urban garden is to 'grow up, not out'. This means that plants that grow tall or on a trellis take unless garden space than those that grow wide. The best way to do this is with trellising.
Those people who have small urban gardens probably wish to grow as many crops as they possibly can.
Growing them vertically, such as on a trellis, is an excellent way in which to do this. There are a number of crop plants that you can grow in this way, including beans, tomatoes, peas and cucumbers. The trellis or even fence that you choose for your climbing plants must be well-made and sturdy. You may also wish to consider vegetable supports for crops such as tomatoes. Make sure that you have the support up, before the plant needs it. Some plants naturally begin to climb. Others, such as melons or tomatoes, must be tied or woven into their support.
Activity 2
Estimated time: 10 - 15 minutes
Take a look at the plants that you have chosen for your garden.
Are any of them climbers?
Do any of them require a large area for growth?
Do you need any vegetable supports?
Make a list of all of the extra supplies that you might need for these crops. Remember, it is best to obtain these materials, before you start planting.
3.5 Continuous harvest
In the UK, the growing season is currently just under 10 months out of the year. Some areas have a slightly longer season, but others have a much shorter season. We are quite lucky, as we can grow crops throughout most of the year, using a method called 'planting crops in succession', which can also help to maximise the planting area that you have. This idea of a continuous harvest means that you plant seeds or plants at different times of the year, as opposed to all at once.
For instance
If you plant all of your tomato plants in early April, all of them should be ready by June or July. However, if you want fresh tomatoes in October, you would be unable to do so, unless you practise a continuous harvest. There is nothing wrong with not planting crops in succession, but, when you do, you can get a bit more out of your garden, and get the most out of the growing season. It also helps you to stop waste and to stop spending an entire weekend picking gathering crops.
In order to implement this concept, you need to draw up a plan. Many people choose to plant a new crop every week or two, which helps you to get a full season. Therefore, when the weather is still cool but starting to warm up, you can plant items, such as peas or salad greens, which can tolerate cooler temps. A couple of weeks later, when the weather is getting warmer, plant peppers and aubergines, and then start all over again. This helps to ensure that you can get crops from your garden well into the autumn and early winter.
The only thing that you have to bear in mind is that you pay attention to the growing rate of a particular plant.
For example
The average radish only takes about four weeks from seed to harvest, so you can plant them several times within a season. However, beetroot takes about 16 weeks, which means that you do not want to plant them too close to winter.
Crop Rotation
This is a good point in the module to mention crop rotation. Within a vegetable garden, crop rotation means that you plant a particular crop, in the same spot, only once every three years. This is because the plant absorbs nutrients from the soil, and, over time, these nutrients become depleted.
However, if you plant carrots one year, beetroots the next and tomatoes the next, by the time the fourth year comes around, all of the nutrients that the first crop of carrots used have returned. Bear in mind that this does not mean that you cannot plant a particular crop, such as carrots, in another area of the garden - just do not do it in the same place.
In order for this concept to be successful, it is important to keep excellent records and to plan ahead. Most people use paper, in order to create a diagram, or they use a computer programme, to help them plan year after year. As this is very likely to be your βirst year, start now. In three years' time, it might be difficult to remember what you planted where, but, if you look back at your records, you will easily remember where you planted your crops.
We are not going to get into planting, as there are thousands of different garden plants available, and all of them could have different methods for perfect planting. Instead, we advise you to pay attention to the seed packets that you buy, or look online, in order to glean more information on those seeds. We are going to move on to caring for your garden with water and fertiliser.
FACT
In the UK, between the years of 2006 and 2015, the average growing season was 280 days. In 2014, the growing season lasted 336 days.
Source: Theguardian.com
Activity 3
Estimated time: 10-15 minutes
As you know exactly what you will be planting in your urban garden, you can start your record keeping right now. Either start a spreadsheet, or purchase or download a computer programme, to help you get started. Ensure that you have information, such as the year, the type of plants that you are putting in your garden and when you are planting them. If you are going to practise crop rotation, you might have several crops in a year.
3.6 Watering Your Garden
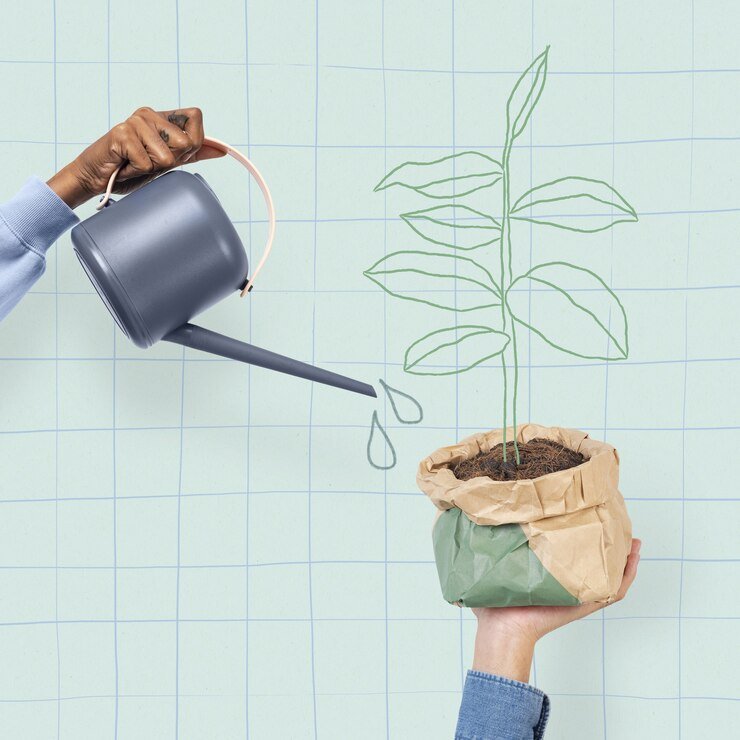
All gardens need water, in order to thrive. However, you might be surprised to know that there are certain methods that must be utilised, to
give your plants the perfect amount of water.
When to water your garden
Ideally, it is best to water your garden in the morning hours, before the sun gets too warm. This helps to limit the amount of evaporation that occurs when the weather gets hot. When the summer days are warm, watering in the evening is also effective, as the soil has probably dried during the hot day.
In order to know if a garden requires water, take your spade, and make a small indentation in the ground. Feel around in that hole. If the soil is damp, you do not have to water it; however, if the soil is dry, you should probably water it. The one exception to this is if you have soil that has a lot of clay or a lot of sand. In the case of soil with a lot of clay, you may remember that this type of soil tends to hold a lot of water, and it can still feel wet, even after the plants have used up all of the water.
In the case of soil with a lot of sand, it can still feel dry, even if water is available. Therefore, you might have to look for other signs that your plants require water, such as wilting and the darkening of the plant's leaf colour. If you are practising container gardening or gardening in pots, you may notice that the soil looks much lighter in colour, and the pot may feel lighter in weight. These are both signs that the plant requires water.
How to water your garden
You might think that watering a garden is self-explanatory, but there is a method to effective watering. Remember that you do not want drought to set in because this leads to disproportionate moisture levels. Once a drought has set in, it is essential that you skip the light watering, and, instead, thoroughly water the plants that are suffering. Again, try to do this in the morning, if possible, and if that is not an option, do it in the evening, when the temperature begins to cool down.
How much water?
The amount of water that you need generally depends on the type of soil that you have. Soil that is light and sandy requires more watering than a heavy clay soil. However, you can use less water on sandy soil. With clay-based soil, you can water it less frequently, but you must use more water each time.
If you are looking for a good estimate, you might need an average of approximately 81 litres of water per square metre of clay soil and approximately 60 litres of water per square metre of sandy soil. It is best to not let your soil get so dry that wilting occurs. Some gardeners do this, in order to conserve water, but we have some other suggestions for that issue, towards the end of this module.
FACT
In general, the average garden in the UK requires about 24 litres per square metre of water every seven to 10 days.
Source: RHS.co.uk
How to water
There are a number of methods that people use when watering. Below are some of the most popular.
Sprinklers
Sprinklers are one way in which to water a garden, but they have limitations in a garden. Sprinklers only reach the leaves of the plants, and not the most important parts: the stems and roots. Instead, use a sprinkler to water a lawn, unless you can ensure that the sprinkler reaches all of your plants.
Watering Cans/Hoses
Another option is to use watering cans or hoses. These are good to use, as you can aim the water directly at the stems and roots, right where it is needed. They also ensure that you are not soaking all of the soil in the garden area - if you do this, you are probably wasting water and helping the weeds grow.
Seep hoses
Seep hoses are also an option for those looking for an effective watering method. These hoses or pipes have small holes, which, when turned on, deliver the water directly to the ground. You can also bury these under the mulch or soil, which helps to limit evaporation. Seep
hoses are better for heavy clay soils, as they often sink into light, sandy soil.
Irrigation system
Finally, you might wish to consider an automated irrigation system. This method of watering certainly saves labour and time, but these systems are often more expensive than other watering methods, and they will certainly add to your budget.
Watering economically
One of the biggest issues that gardeners face with regards to watering a garden is the cost of watering. Water is not free, but to follow are a few ways in which you can water economically:
1.Do not bother watering any established shrubs or trees, as they typically have deep reaching roots, so they are rarely affected by drought conditions. However, if they look stressed, they can have water.
2.Shrubs and trees that are less than five years old require more watering, especially when the environment is dry.
3.Any young shrubs, trees or flowering plants will require a lot of watering, especially if they are herbaceous perennials, such as daisies, mums and foxglove. Watch flowers for signs of water deprivation.
4.Vegetable and fruit plants will have a higher yield and be of better quality, if they are watered regularly, but you can save water by knowing how much water each plant requires.
For instance, salad greens must never start to wilt, but onions might not require any watering at all. Of course, most crops do require water, especially when they are sown or transplanted. They also need regular watering, when they begin to develop roots, fruits or tubers. It is also
recommended to thoroughly water plants approximately two weeks before it is time to harvest them.
5.Use mulch, when you can. This is an extra layer of organic matter that should be applied about 5cm deep. When mulch is laid across the soil, it not only brings extra nutrients to the soil, but it also helps to reduce evaporation.
6.Remove weeds, as often as you can. Weeds take up valuable nutrients and water.
7.Do not water when plants do not need it. If there is no drought, the soil is not dry and the plants are not showing signs of wilting, there is no need to water.
3.7 Using Fertiliser
Finally, before we end this module, we would like to discuss applying fertiliser in more detail. We have discussed the concept of fertiliser, as well as the different types of fertilisers available. We will now discuss how to apply them. There are a number of ways in which to apply fertiliser, and the way in which you choose to apply it will greatly depend on the type of fertiliser that you are using.
To follow are some of the most common ways in which to apply fertiliser:
Top dressing
Top dressing is an application method used with quick-acting fertilisers. With this application method, you place the fertiliser directly on the surface of the soil and around the plants. This is usually done at the start of the growing system. Try not to spread this fertiliser on the leaf areas, and do not over-fertilise, as this can pollute ground water or cause root damage.
Base dressing
This application method is implemented by incorporating the fertiliser directly into the soil or compost, before planting or sowing.
Watering on
Soluble powders, granules or liquid fertilisers are diluted or dissolved and then watered directly onto the plants, which give them an instant boost. Typically, this type of fertiliser is used in pots, beds or in glasshouse crops. Again, take care to avoid the leaves, as it can damage them.
Foliar feeding
When implementing foliar feeding, you apply a solution of fertiliser to the leaves of the plants. This is typically an emergency fertilisation treatment, and it corrects any nutritional deficiencies. Foliar feeds must not be applied in the bright sun, as the leaves and stems might become damaged.
Module Summary
At the end of this module, you have full knowledge of how to plant your garden. We covered information, such as how to effectively prepare your soil for planting and what makes up a great quality soil. We also discussed how to prepare the soil for planting and how to remove the turf and mix the soil with organic matter, for more success.
In addition to learning about soil, this module also covered the proper preparation for planting your garden and how to make the most of the space you have available. Additionally, we covered topics, such as record keeping and crop rotation. As the module ended, you
learnt about proper watering and fertilising.
In the next module, you will learn more about maintaining your garden, how to make your own compost and how to deal with aspects, such as disease and insects.
.svg)