
Module 6 - Pointing and Finishing in Masonry: A Comprehensive Guide
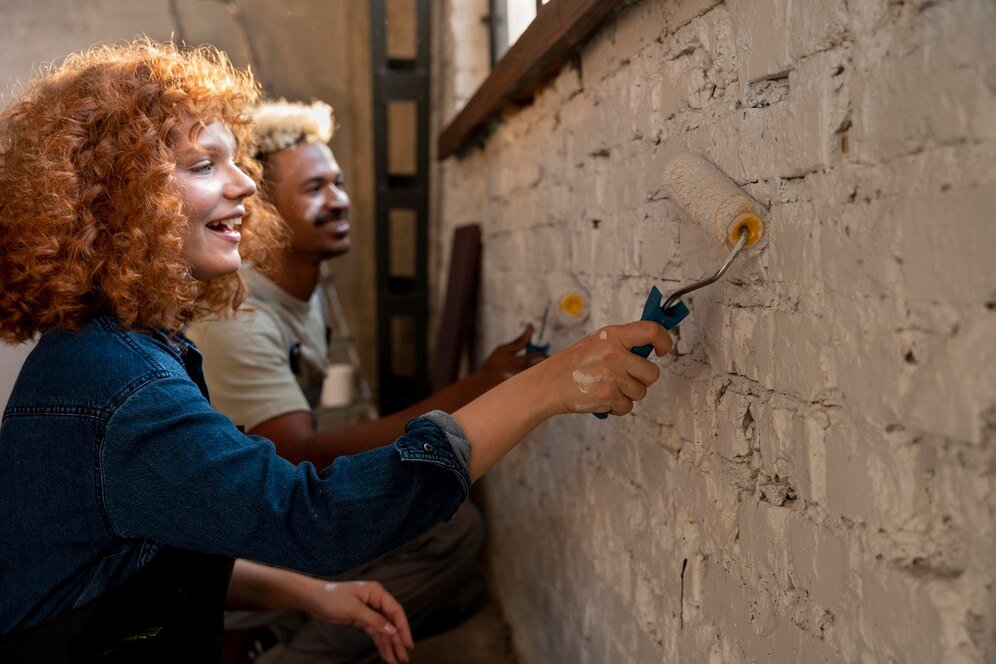
Pointing and finishing
represent the final - yet critically important - stage of masonry work that
significantly impacts both the durability and aesthetic appeal of brick or
block structures. This process involves carefully finishing the mortar joints
between masonry units to create weather-resistant seals while achieving the
desired visual effect. Proper pointing techniques protect the structural
integrity of the wall by preventing water penetration, while the finishing
style can dramatically alter the building's character and architectural style.
The Importance of Proper Pointing
Mortar joints are the vulnerable points in any masonry structure, acting as potential entry points for moisture if not properly finished. High-quality pointing:
Creates a water-resistant barrier that sheds rain effectively
Improves the wall's thermal performance by eliminating air gaps
Enhances structural stability by compacting the mortar
Protects against frost damage in cold climates
Prevents mortar erosion from wind and weather exposure
The process typically begins after the mortar has achieved a
"thumbprint hard" consistency - firm enough to retain shape but still
workable. This usually occurs about 1-2 hours after laying, depending on
weather conditions. Bricklayers must time this perfectly, as pointing too early
can smear the mortar, while waiting too long makes the mortar difficult to
tool.
Common Pointing Techniques
Several distinct pointing styles are used in modern masonry, each with specific characteristics and applications:
Flush Pointing (most common in modern construction):
Mortar is pressed flush with the brick edges
Creates a smooth, uniform appearance
Provides good weather resistance
Often finished with a stiff brush for clean lines
Weatherstruck Pointing (traditional weather-resistant style):
Mortar is angled downward from the top edge
Creates a natural water-shedding surface
Requires skilled tooling with a special pointing trowel
Common in historic building restoration
Recessed Pointing (for dramatic shadow effects):
Mortar is set back 5-10mm from the face
Creates deep shadows and highlights brick edges
Less weather-resistant than other methods
Often used for aesthetic purposes on feature walls
Bucket Handle/Tuck Pointing (decorative traditional style):
Creates a concave, rounded joint profile
Achieved with a curved jointing tool
Provides excellent weather resistance
Popular for both contemporary and period buildings
Specialized Finishing Techniques
Beyond basic pointing, several advanced finishing methods serve specific purposes:
Repointing: Carefully removing deteriorated mortar (to depth of 20-25mm) and replacing it with new mortar to restore old walls
Lime Mortar Finishing: Using traditional lime-based mortars for historic buildings, requiring different curing and finishing techniques
Colored Mortar Finishes: Incorporating pigments to match existing mortar or create design contrasts
Stippled Finishes: Creating textured surfaces for rustic or contemporary effects
The Pointing Process Step-by-Step
Joint Preparation: Raking out joints to consistent depth (typically twice the joint width)
Mortar Application: Pressing mortar firmly into joints using a pointing trowel or mortar gun
Initial Shaping: Rough-forming the joint profile
Final Tooling: Refining the shape with specialized tools
Cleaning: Removing excess mortar with brushes or sponges
Curing: Protecting fresh pointing from rapid drying (covering in hot weather, misting in dry conditions)
Modern Innovations in Pointing

Recent advancements include:
Pre-mixed mortar compounds with additives for enhanced workability and durability
Polymer-modified mortars for improved flexibility and adhesion
Spray-applied mortars for large-scale projects
Specialized sealants for extra protection in harsh climates
Common Mistakes to Avoid
Overworking the mortar, which can cause discoloration
Inconsistent joint depth, creating weak points
Using mortar that's too stiff or too wet
Pointing in direct sunlight or freezing temperatures
Failing to properly compact mortar into joints
Overworking the mortar, which can cause discoloration
Inconsistent joint depth, creating weak points
Using mortar that's too stiff or too wet
Pointing in direct sunlight or freezing temperatures
Failing to properly compact mortar into joints
.svg)