17.1 Introduction

Microsoft Outlook offers many benefits that can help make your working tasks much easier and efficient.
Microsoft Outlook is vital for more than just sending emails, it also has calendars, contact sheets, tasks and more. You can connect outlook to an exchange server so everybody can share an address book and calendars. This makes it a great collaborative tool.
Therefore, it comes as no surprise that millions of users still prefer Outlook for its versatility and user-friendliness. Learning a few secrets will help you maximise the utility value of Outlook and you will become more efficient and will be able to synchronise your home and work. While Outlook may be understandably one of the busiest and most popular interfaces, many options and commands are buried in menus and under choices.
Suggest considering investing in an exchange server if you have a complex internal staff interface. These functions can work equally well on home computers.
17.2 Prime Timing with Outlook
Don't expect a fancy interface that will blow your mind when you open it; it is very similar in appearance to other Microsoft applications.
It is well structured and simple enough to follow. The value of Microsoft Outlook is built around its various functions. The default view is the inbox and along the top is the ribbon.You will come across a lot of ribbons in Microsoft Apps. If you ever need to hide a ribbon or show it, simply use CTRL and F1.
If you click on the menu functions at the top, the ribbon will show you a list of different functions and tools. If you want the ribbon to persist, again use CTRL and F1 or click the small push pin that is in the bottom right corner.The home tab of the ribbon will change in context with the mode you are in at the time when using Outlook. If the ribbon is pinned, then the push pin will change to an arrow just in case you want to collapse it.
The other ribbon tabs are Send/Receive, Folder, View and File. They are usually consistent no matter which mode you choose to use. The navigation pane can usually take up a lot of space on the screen. You may not always need to see the navigation pane as it lists different folders. You may be better off reserving screen space for reading your email. If you wish to hide the navigation pane, click ALT + F1. Pressing ALT+F1 again will display it again.
Alternatively, click on the arrow at the top of the navigation panel, this will expand the panel and display the list of folders for your individual email account. If you turn off 'Compact Navigation', this may be a suitable option for those who prefer a larger resolution display. You can also choose the amount of items that appear or the order they appear in.
If you find that you have to often switch between windows like tasks, inbox, contacts, etc, open each in its own window. This makes switching much smoother and simpler. You can easily move the taskbar between the windows.
In order to do this, position the cursor on an item and right-click on it. Choose 'Open in New Window' option. You can use this feature for as many applications as you need. For moving between windows, simply click on the appropriate icon on the taskbar. If you find that the taskbar is too crowded, use the CTRL + TAB shortcut to navigate the windows faster.
17.3 How to Move Between Different Modes
You will notice the folder panel located along the left edge.
At the bottom of this panel are some shortcuts on different Outlook modes. There will be different icons representing the Inbox, Calendar, People, Tasks, etc.
Send/Receive
The send and receive tab is focused on inbox functions, but it still appears in other modes. They will not have the same functionality when you see them in Calendars, etc.
Send/Receive
Folder
The Folder tab is consistent across every function you use apart from Calendar. The inbox tab will allow you to sort various means of folder administration. If you do not use an IMAP account, then you will not see the IMAP tab.
Folder Tab
The 'Auto Archive' settings button does not affect how your inbox archives old mail.
This may sound confusing, but if you want to view your mail, then open the options and choose your wanted 'Auto Archive' settings. Open 'Options' and select 'Advanced' category.
Message Lists
The message list is designed to display information regarding email messages. Users seldom need to read all the information. All that is required is to select the message and one line of information. Click on 'Arrange By' option from the 'View' Menu. Select 'Custom' and then deselect the option that says 'Use Multi-Line Layouts in Widths'. After you do this, then select 'Always Use Single-Line Layout' option.
In the event that you'd like to view more lines of information, simply click on 'View' and then set the 'Maximum Number of Lines' in Multi-Line Mode.
In addition, you have the option of freeing up extra space in the message list by removing the 'Received Field'. In order to remove the 'Received Field', simply drag it to the right-hand corner of the screen. In case you wish to restore the 'Received Field', simply right-click on any column header and select 'Field Chooser'. Then select 'Received' from the 'All Mail Fields' category.
Optionally, you can simply diminish the size of the 'Received Field' until it disappears. Once you do this, you can sort your message list from oldest to newest or vice verse by simply clicking on this near-invisible icon. Message lists may also be sorted by date, sender, subject and flag.
Message Lists
17.4 Message Scanning

When there are too many messages to wade through, it can prove challenging to decide which messages can be discarded and which should be retained.
By using the reading pane instead of selecting and reading every message, you can tell at a glance if you need to delete a message or skip it: Simply by looking at the reading pane. If you wish to read more, simply press the spacebar. If you press the spacebar once more, the cursor will simply jump to the next message.
Reading Pane
17.5 View
'View' options contain certain essential functions that will be listed when you click the tab. There is a Reminders Window button that you can select at any time to check your list of reminders.
You can dismiss reminders one by one or dismiss them all in one go OR select the snooze button. Other view tabs will vary according to the mode used. For example, 'Calendar' will allow you to change view, colour, arrangement and layout.
View
17.6 How to Download Email Quickly and Efficiently

Since most emails come with the HTML format, they take longer to download, especially if they contain graphics, images or videos.
It is not necessary to compromise on the HTML format for faster downloads. You can simply opt to download the email minus the graphics (if you don't need the graphics). Start by going to the 'tools' menu and selecting 'options'. Then select the 'security tab' and click on the 'Change Automatic Download Settings' which is located in the 'Download Pictures' section. Now choose the option that says, 'Don't Download Pictures or Other Content Automatically in HTML email'. Click 'OK' twice to confirm your option. You will notice that emails download much faster and you will be able to scan messages more quickly. This is because Outlook does not waste time retrieving images when you select messages.
Turning on /off automatic download of images
Should you wish to view images and graphics, click on the message banner and select 'Download Pictures' option. When you close the email/message, Outlook will prompt you to save the file. If you wish to save this image, then click 'yes'. The image will be saved for that specific email. If you click on 'no', Outlook will save the message without the image.
17.7 Using Function Ribbons
Options change from function to function; you can add attachments, tags and format text.
This is not complicated and can help you create high quality email.Compare this to the Task Ribbon, this is accessible by starting or opening a task. Notice the difference between this and message ribbon.
The Insert tab is uniform across Outlook and the function remains the same. This can be used to change content of message, tasks, calendar events and more using the same functions. Email messages will add the Options tab automatically and this has a lot of useful features. Apart from the 'Themes', there is the blind carbon copy or BCC. If you ever need a delivery or readable receipt, then the Options tab is the best place to go.
Insert Tab
The Format Text tab works the same in every function, this function is very similar to that in Microsoft Word and is easy to use. The Review tab is there to back you up just in case; it can help you review grammar, spelling and punctuation. It can also give you a word count and synonym suggestions. This tab contains language preference settings and proofing settings. You can also translate languages with the review tab, which is great for International communication.
Review Tab
17.8 How to Group Tasks by Order of Importance
The 'Task Pad' option in Outlook is designed to sort tasks by importance.
The first step involves marking the importance of a task. In order to do this, click on the drop-down list located to the left, just under the exclamation mark. Similar to other views, you can sort tasks by clicking on the header. A less known, but equally useful feature is to be able to sort tasks according to the originator. Simply use the 'Arrange By' setting on the 'View' menu and choose 'FROM'. Tasks can be easily ordered according to importance when you sort them on the basis of originator.The settings in 'Arrange by' stay the same until you decide to change it the next time.
Similarly, double-clicking a task opens it in a new window. This may not be necessary as single clicking the task will open it in its own cell as well as allow in-cell editing. In short, you can update a task in its cell without having to open the message. To illustrate the point, 'Due Date Field' will display a calendar and 'Status Field' will display its own drop-down list.
If you wish to open a blank task form, you do not have to click 'New' from 'File'. You can simply double-click a blank row or you can press CTRL + N.
Group by Order of Importance
17.9 How to Change the Colour Scheme
Outlook 2013 has no contrasting colours that indicate where navigation bars or sections are located.
There is no difference whatsoever. If you want to make your inbox easier on the eye or more attractive, you can change the colours used in Outlook. Simply click file at the top left side of the screen and pull up the back stage panel. Click Options and open the Options window to edit more Outlook settings.
Select your favourite background. Look under 'Personalize your copy of Microsoft Office'. Check the field that reads Office Background. This change of decorative pattern can be noticed at the top right side of your screen. Outlook provides 14 different backgrounds for you to choose from.
Select your theme; you can choose white, light grey or dark grey for your background and determine the colour of your navigator bars. Then simply click 'OK'. You will notice that all navigation panels, left sidebar and are all now grey. This way you can easily differentiate your screen for easy readability.
Changing the Colour Scheme
Activity 1 - Working with Microsoft Outlook
Estimated time: 10-15 minutes
After learning about Microsoft Outlook, you now have the skills necessary to operate a versatile interface, which will help you succeed in many different organisational areas.
One of the features in Microsoft Outlook is the message lists, which displays your email information. Take some time to review what you learned about this feature, then navigate to Outlook and practise using the different options in message lists. If you do not have Microsoft Outlook, spend some time researching another program and how it can benefit your career.
17.10 Other Tips and Tricks for Microsoft Outlook
Outlook has a good list of keyboard shortcuts just as other Microsoft apps do.
Outlook has unique shortcuts. This implies that you no longer have to waste time on moving the mouse around trying to fiddle through menus. Learn the most useful ones and your Outlook experiences will become much better.
Here is a list of some of the most useful shortcuts (there are 247 in total).
. Ctrl + R = reply to email
. Alt + R = reply to all in email or switch to work week calendar view
. Alt + W = forward an email or switch to weekly calendar view
. Ctrl + M = F9 to send or receive an email
. Alt + S = Send an email
. Ctrl + G = Open go to date dialog and jump to any date in calendar
You can use shortcut keys to navigate quickly. For example, CTRL + (Place number of the button like calendar, contacts, etc) will take you straight to your option without having to traverse the entire menu.
You should also consider taking advantage of Outlook's 'Quick Steps'. It was introduced in 2010. Quick Steps has many shortcuts to multi-step actions, this includes moving emails to folders, marking them as read or simply flagging them. This can make short work of repetitive tasks and you can create your own quick step actions too. 'Customizability' is a big plus point of Microsoft Outlook.
'Quick Parts' is an extremely useful feature that helps you insert text passages that you regularly use in emails. This saves time on repeated typing of the same text. In order to use 'Quick Parts', all you need to do is highlight the text and click on 'Save selection to Quick Parts gallery'. As soon as you begin typing out the phrase, you will notice a prompt asking you if you wish to use the text in quick parts. Clicking 'return' causes the full text passage to get inserted. Optionally, you can choose the text from the 'quick parts' drop down. Right-clicking on the text offers additional editing and insertion options.
If you wish to create emails that need to be sent out at a later date, Outlook offers the 'delay delivery' option. All you need to do is to write out the email and then go to the 'options' tab and click on 'delay delivery'. This is a particularly useful feature when you have news that you do not wish to share immediately. It's also a useful feature if you need to send out an email at a later date. You can prepare the email when you have free time and simply set the 'delay delivery' tab to send it off on the right day.
17.11 Email Shortcuts

Gmail and other websites are capable, but Outlook goes one extra mile when it comes to sorting, filtering, categorizing and any other means that need tending to.
You can also limit desktop notifications so that you only receive them for important emails. It can be annoying getting an update for spam or other junk. You can set desktop notifications to only alert you when you get VIP messages. You must turn off all desktop alerts and then create a rule to display alerts from specific senders.
Activity 2 - More Practise in Microsoft Outlook
Estimated time: 10-15 minutes
Hopefully, you spent some time navigating through the message lists in Microsoft Outlook and are comfortable with this feature. As a personal assistant, you will use this program quite often; it is also packed full of features, so you should get some more practice in.
In this activity, you will practise grouping tasks in Outlook by order of importance. To do this, you need to navigate to the 'Task Pad', which is the area designed to sort and group tasks. Once you are there, what can you do to sort and group your tasks? Practise working with this function manually and with shortcuts.
17.12 Flag Messages

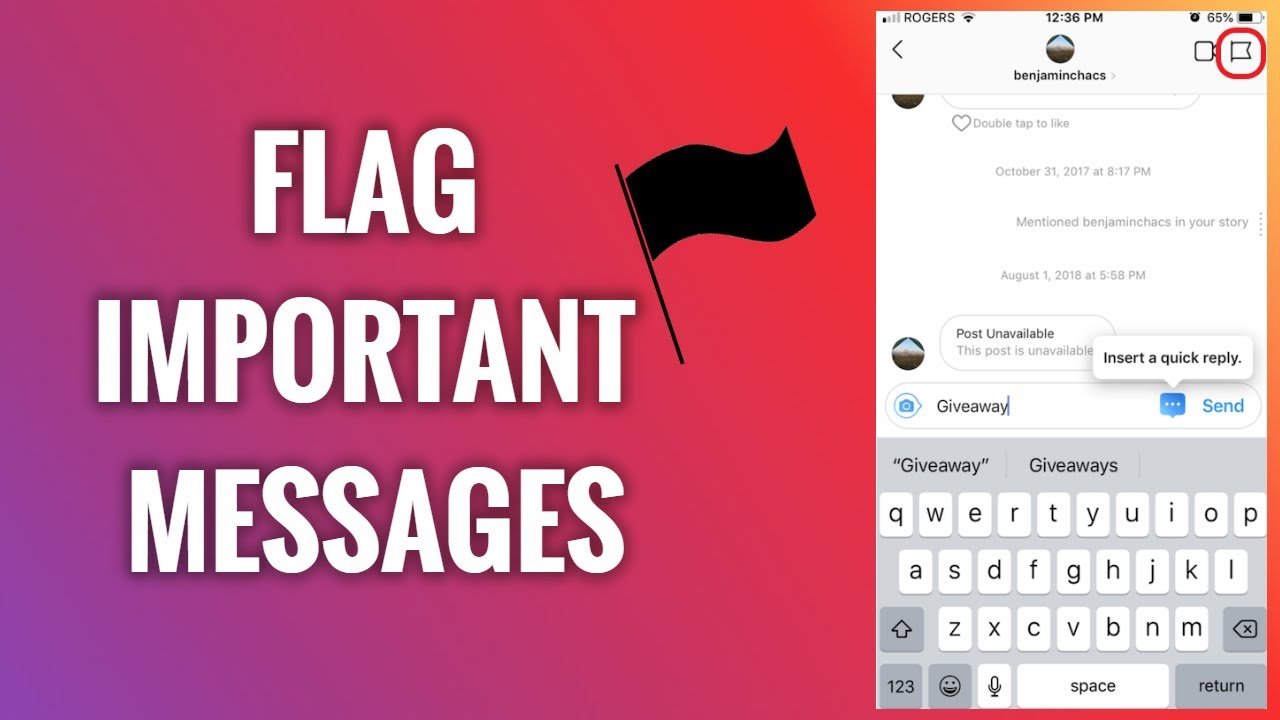
Simply hit the insert key when you have selected the messages you wish to flag.
This will flag them instantly and is much easier than a point and click mission!
Flag Messages
You can also choose to get emails that are not directly sent to you filtered through your inbox. You can use a special 'Inbox-CC folder' that will allow you to collect any emails that may not be sent directly to you. Then your inbox can be said to be personally customised to receive emails that are important to you.
To do this, simply go to 'Rules', then 'New Rules'. Click the 'Advanced Options' button. In the Rules wizard section, select 'where my name is not in the TO box', then in the next screen, move it to the specified folder. You can also set up a VIP email folder and move all 'emails sent only to me' into that specific folder.
Rules
Use email templates so that you never write the same email twice. For emails that you send frequently, e.g. invoices, you can save the email as a template via File then Save As > Outlook Template.
When you wish to use the template go to New Items > choose 'form' then 'look' in the User Templates in File System to browse all templates you have saved. An even quicker way to do this is to double-click the OFT file from your Windows Explorer and create a new message from the template. You can use this expansion to do the same across all other programs on your computer.