
3.1 Introduction
Once you have created beautiful Hollywood glam waves, you are ready to start working on your bride's up-do.
This module gives you all the information you need to complete this next step in a modern romance up-do, along with a few extra services you can offer your clients.
We begin by talking about how to section and prepare the hair, including the best technique to use if you want to create shape. Next, we tell you how to pin up the hair, creating a messy but secure bun. Incorporating the front sections is also an important part of this style, as it helps make it look more natural and less salon-made. Finally, we suggest a few extra services you may consider, and give you instructions on how to take down a bridal up-do that you can pass along to your clients.
Fact
85% of brides-to-be intend to have their hair in an up-do on their big day.
3.2 Section and Prepare Hair
Once you have established your Hollywood glam-inspired base, you need to resection and re-prepare the hair for the next phase of styling.
Some of these steps may seem redundant, but it is important to take your time with each one. The final look depends on each instruction being followed.
Work from Bottom
As with the first time, you should pin up the top half of the hair and work from the bottom. This ensures you do not miss a section and that all the hair is curled in a uniform manner. It also makes it easier to more precisely
manoeuvre the wand.
Use the Wand
Use the wand again to give the style more volume and texture. Go over each layer again using the same wand to ensure the size of the curls remains the same. You do not need to use the same technique as before. Curling in a different direction (i.e. pointing the wands upwards instead of downwards) can often add even more texture to thin hair, creating the illusion of thickness and making it much easier to work with.
Continue sectioning and re-sectioning, working from the bottom each time, until all hair is curled. Brush out the Ringlets
Avoiding ringlets is the key to this style. Ringlets can transform any modern style into one that is old-fashioned and
dated. After you use the wand again to curl the hair, it should fall in loose ringlets. Use your wide-toothed comb to
gently brush out each one, creating a tousled look with only a few loose strands framing the face. Avoid aiming for
texture, instead focusing on making the curls look as wavy and natural as possible.
Activity #1: Practising Your Curls
Estimated time: 15 minutes
Not all hair holds a curl in the same way. Thick hair and thin hair need drastically different approaches to hold a curl formed using the same tool.
Before you start practising this entire modern romance-inspired style you should practise curling different hair textures - ask friends to sit for you as you practise different curling techniques, tools, products and heat levels. When you can consistently form the perfect curl that holds regardless of hair thickness, you are ready to practise this style as a whole.
3.3 Create the Shape
Once you have re-curled the bride's hair, adding volume and texture, you need to begin creating the shape.
This means pulling the hair back into a secure ponytail, while still retaining a natural, messy look.
Tools:
To ensure the resulting style has the look you want yet remains secure, there are a few tools you need to gather.
Bands:
For example
Some brides prefer to avoid elastic bands, as it can rip and tear the hair. Other brides prefer them as they blend more seamlessly into the final style. Discuss the available options with the bride in advance. Make sure you have a range of bands in a range of colours, always choosing the tools that match the bride's hair best.
Spray: There are numerous products you can use to create volume at the crown of the head and at the base of the ponytail itself. Hairspray is a popular choice, because it is easily accessible, readily available, and one of the tools you use most frequently. If you opt to use spray, make sure you hold the can far enough back to avoid dampening the hair.
Texture Powder: Texture powder is a popular choice for adding volume without adding extra hold or stickiness. You can apply the powder with your fingers directly to the hair itself before teasing, or you can apply it to the tail comb. Unlike hairspray, this product works best when applied before you tease, not after. Textured powders are available in a few different shades, so make sure you have the one that matches your bride's hair.
Dry Shampoo; This is another popular product for adding volume without creating extra hold. Dry shampoo is perfect to use when teasing hair, especially when applied directly to the roots. As with textured powder, you can get dry shampoo in both a brunette shade and a blonde one. Always use the product that matches the bride's hair.
Section and Prepare Hair
Before you pull the hair into the ponytail, you need to section off the front. Using straight pins, separate the hair from about the ear forward from the rest of the style. Make sure the pins do not get in the way of you pulling back the rest of the hair. After the hair is sectioned, you may want to tease the top to give it a bit more shape and texture. Use your product of choice and your tail comb to gently tease the top of the hair, aiming for a voluminous, rounded shape. This approach works best when you lift the top sections and tease them, without doing anything to the lower layers. You can get the illusion of volume without creating an unmanageable situation for the bride the next morning.
Pull Hair into Ponytail
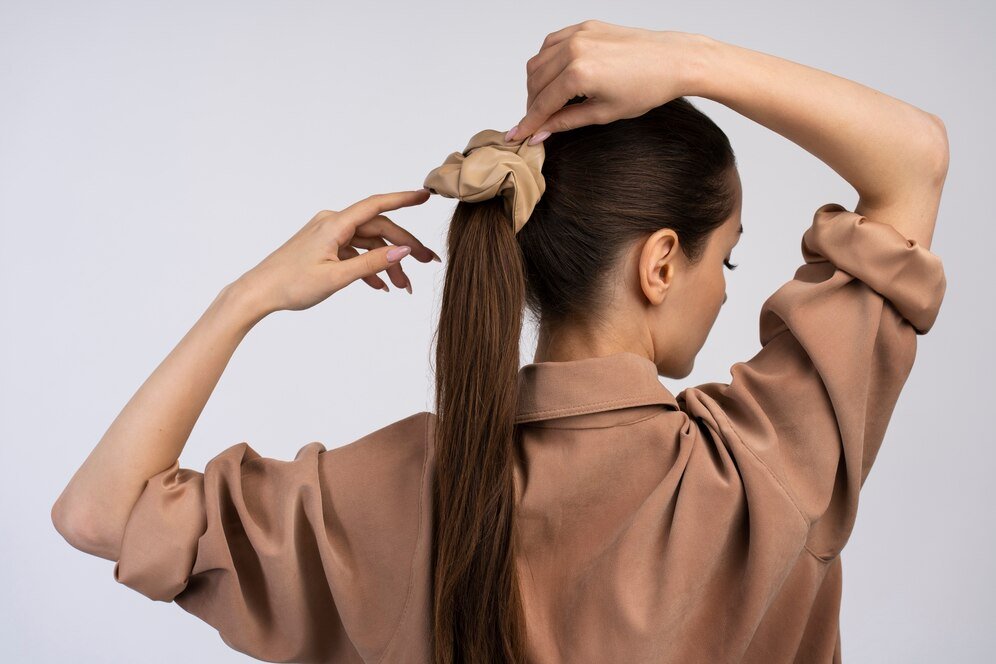
Use the tail comb to maintain the shape and volume of the hair while pulling the loose section into a pony tail. Secure this with a band or elastic, still taking care to keep the texture you created. Again, use your tail comb to smooth back any stray hairs and to push the rounded top into place. Using the tail comb alone, without any extra product, gently tease the base of the ponytail to create a bit more
volume and to hide the elastic as much as you can. Next, gently tug on the strands of hair at the top to loosen it up a bit more, without pulling them out of the ponytail. This gives the hair a softer, more natural look while creating a nicer shape for your finished style.
Activity #2: Tease Your Hair
Estimated time: 15 minutes
Familiarise yourself with the various tools and techniques used to tease hair by teasing your own. Start with the methods you use the most, such as hairspray and a tail comb, and work towards ones you have not tried before. Learning a variety of techniques ensures that you always know the perfect one to use given a bride's hair, the style they want, and their preferred products.
3.4 Pinning Up the Hair
The next step is to pin the curls up to the base of the ponytail, creating a messy bun.
It can be challenging to make the final product look messy and natural while still remaining incredibly secure.Make sure you have high-quality pins and products with you in your kit to guarantee the style lasts.
Tools Used
Pins are the backbone of this look. As a result, it is incredibly important to use the right type of pins given the bride's hair colour and texture.
Standard Pins. Standard bobby pins are perfect for pinning up medium sections of normal hair. If your bride's hair is not too thick or thin, these are the perfect pins to use. As always, make sure you match the shade to your bride's hair colour to ensure they blend in well.
Inner Grip: There are a few different brands that offer an inner grip, perfect to encourage thin hair to remain in place. These pins are ideal for this style, as well as any other that require long-lasting hold.
Jumbo Pins: Jumbo pins are perfect for pinning large sections of hair into a bun. They are also commonly used with bride's who have thick hair. These are also great pins to use if you need to create a bent-back pin, as they separate more easily.
Bent-Back Pins: Most stylists use other pins to create their own bent-back pins. You do this by gently pulling back one of the sides, to create a bobby pin with a slightly larger opening, capable of gripping more hair securely. These are often used in addition to or in place of jumbo pins Brides with thin hair require bent-back pins, as jumbo pins do not have a firm enough hold.
Technique
Pinning the loose curls into place is relatively simple. Grab a standard pin or one with an inner grip, depending on the texture of your bride's hair, and run it up the ponytail starting from the bottom. When you get to the base, secure the pin into the elastic. You do not need to grab sections of the same width, nor do you need to pin them in any uniform way. Simply take pieces of hair and pin them to the elastic in a random way. Keep doing this until you have a nicely shaped bun to work with.
Take your time pinning and re-pinning the bride's hair. Your goal is to create a messy bun that looks natural and loose, while actually being incredibly secure. This is not a job you can rush through, as this style relies on pins more than spray to keep its shape. Creating hold cannot be done through volume of pins alone; you need to be careful when securing the hair to the band, the bun, or the scalp. Take your time and stick with this step until all loose strands are pinned and both you and the bride are happy with the final shape of the bun.
Some brides may want to see a few, small strands left out of the bun at the back. If this is the case with your bride, go over these sections with your wand, curling them a bit and positioning them so they look as if they are naturally coming out of the style. Always avoid leaving ringlets behind.
Once the bun looks perfect to you and the bride, spray it liberally with a light hold hair spray. Ask your bride to gently shake their head to test the strength of the bun's hold. Pay attention to the parts of the bun that move when the head does and secure them down with pins.
Activity #3: Organise Your Pins
Estimated time: 15 minutes
To complete almost any bridal style, you need to have numerous pins with you at all times. These pins need to be of varying sizes, textures, and colours. When you complete a style, you do not want to be hunting through dis-organised pin boxes looking for the perfect one.
Take the time now to find a pin storage solution that works best for you. Many companies make pin boxes specifically for stylists. Other individuals prefer to use individual cases for each type of pin. Spend some time researching your options and purchase the one that is right for you.
3.5 Incorporating the Front Sections
The final step is to incorporate the front sections into the rest of the style.
As with each other step, it is important not to rush through this one. While you and your bride may be anxious to finally be finished, failing to incorporate the front sections properly can cause the whole style to fall apart.
Technique
Remove the pins from both sides and start by pulling back the wider part first. Take care to maintain the shape of the part when you are gently pulling it back into place. You may want to use your tangle teaser to gently brush this section back, creating a bit of volume while still moving it back into place. Before you secure the ends, gently tug on a few strands of hair, leaving loose ones framing the face. Use your tail comb to maintain shape throughout this process.
When you repeat this step on the other side, you can pull the smaller section of hair back a bit more tightly if your bride wants a sleeker look on that side. Otherwise, pull it back loosely as well, tugging on some strands to leave a few framing the face to match the other side. Again, use your tail comb for added precision, ensuring the hair falls exactly where you want it to.
Securing the Ends
You can get creative with this section, adding a few extras to the style, or you can keep it simple and classic by pulling the hair straight back. Lightly twist the hair above the bun, and tuck the loose ends into the elastic, securing with pins if necessary. Using the pointed end of your tail comb gives you extra guidance and results in a stronger hold. Repeat the same process with both sides. In some cases, your bride may not have long enough hair to reach the bun. If this is the case, secure the tips of the front sections underneath the hair. This helps hide the ends in the style, giving the illusion of longer hair. You can also consider decorative clips and pins to detract from the shorter length.
Framing the Face
As mentioned, you should gently tug on a few loose strands to gently frame the face. Once the ends of the frontsection are secure, focus on those loose strands. They should look natural and work well with the style. You also want to be sure they do not fall directly in the bride's face or become bothersome. The best way to do this is to go over them with your wand, pointing it away from the face. Remember to use your comb to brush out those curls to avoid a tight, ringlet look.
Testing Security
Aside from appearance, longevity is the most important factor in any bridal style.
The look you create must last throughout the ceremony, dinner, and dancing, while still looking beautiful, natural, and elegant. This style is a great way to achieve both of those goals, but only if it is properly secured. Never trust that you have used enough pins or product until you ask your bride to stand up and shake their head at least twice. The final time should be at the end of the style, when you consider it to be photo ready.
3.6 Extras
This style lends itself well to certain levels of creativity on the part of the stylist and the bride.
There are a few different extras you can offer your bride when creating this modern romance up-do. If possible, show your bride each variation you are comfortable with. If this is not possible, be as descriptive as you can when you discuss these alternate approaches to the same look.
Twists and Braids
There are a few different approaches you can take to incorporating the front sections into the messy bun at the back. For a classic look, you can brush the hair straight back, as instructed in this module. Alternatively, you can twist both front sections of the hair as you bring them back, creating a bit of visual diversity. If your bride is having an earthy or country-themed wedding, this variation may be perfect for the overall look of the wedding.
You can also braid certain sections of the hair, or the whole front section, as you bring it back. The options when it comes to the type of braid you choose are endless. Looser braids give the style a Bohemian look, where tighter, smaller braids convey a more serious, academic tone. When you do the test run with the bride before the big day, take the time to explore a few of these variations to see what suits them best.
Decorative Pins
Some brides love their bling. For these clients, you can offer decorative pins with gems, crystals, or other sparkly items at the end. You can pin them into the messy bun itself or into the braided or twisted front sections. If the bride has dark hair, consider using numerous small pins to create the illusion of stars. Brides with lighter hair may benefit from lager pins or those with additional features or flare to help them stand out. Ask your bride abouttheir preference when you are doing the test run.
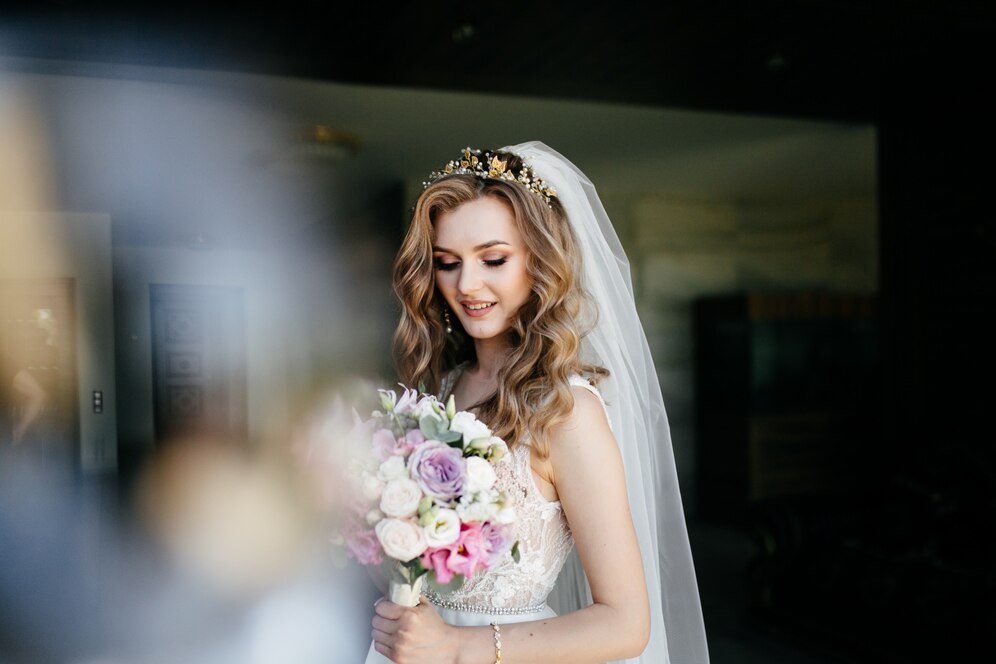
Tiaras and Veils
This style is perfect for traditional bridal features such as tiaras and veils.
You can easily incorporate a tiara by tucking the ends underneath the front sections as you pull them back. Veils are also easy to add, as they can clip directly into the messy bun itself. Ask your bride to bring any desired accessories with them when they come for their trial run. Make sure you set aside enough time to try out a few different styles and approaches.
Glitter Spray
Hair spray with a bit of glitter in it has become incredibly popular, especially among brides and those getting formal up-dos. There is a bit of controversy about the environmental impact of these types of sprays, as the bits of glitter do not breakdown naturally. Always talk about every product you intend to use with your bride before use, to make sure they are comfortable with them.
Fact
Unlike the US, which considers glitter an unapproved colour-additive, the EU has approved glitter for use in cosmetic products, such as hairspray, as it is satisfied that the risks posed are small.
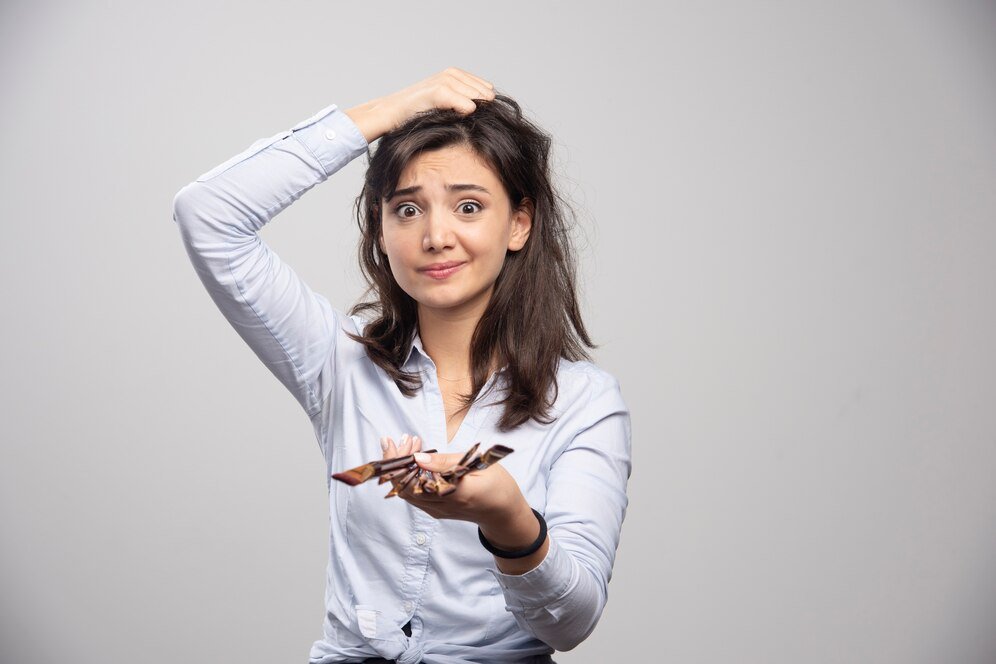
3.7 Taking Down an Up-Do
Taking down an up-do is an incredibly complicated task, especially if it is a bridal style.
These up-dos are structured to withstand almost anything. This is incredibly advantageous for the main part of the day but can be a complicated pain at night or the next morning. As an added perk of using your services, you could provide each one of your brides with a card or information sheet detailing the best way to remove an up-do. They may not think to ask when having their hair styled, but this
is very valuable information that could result in additional word-of-mouth referrals.
Where to Begin
Brides should start by removing as many pins as they can. This can be painful if you start without direction, so make sure you advise them to remove their pins in layers. Start with the top layer, which usually consists of pins used to secure the style. These can be harder to remove, so remind the bride to be patient. They can begin at the crown or at the nape of their neck and work around in layers. Once the pins on the top layer are out, they can start working on lower layers. The final layer is likely pinned into an elastic or tie, so again, remind them to work slowly and be careful. After all the pins are gone, remove any remaining elastics or ties.
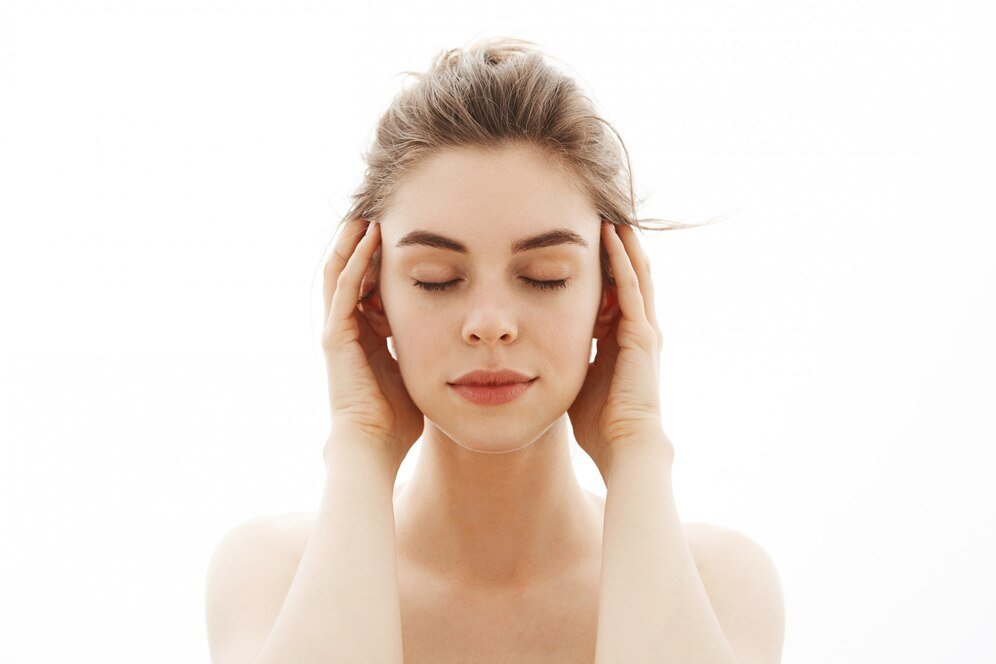
Flip Hair Upside Down

Once all the pins and elastics are removed, instruct the bride to flip her hair upside down, gently shake it, and then run their fingers
through it. They may be surprised to see how many pins still remain. Have the bride repeat this exercise until they are confident there are no pins left. Never use a brush or comb to search for pins, as this can cause a lot of breakage. Instead, tell your brides to use their fingers.
Shampoo out the Product
Lather, rinse, repeat is a bride's best friend when it comes to shampooing out the product. Suggest that the bride place a mesh stopper around the drain, to catch any extra pins that may fall out as the hair is washed. They should also use a natural or gentle shampoo. Harsh products can strip away healthy parts of the hair along with the spray and protectant used to create the style. Brides need to wash their hair several times to remove all traces of product and to restore their hair to its natural state. Natural or gentle shampoos are best for this type of repeated use.
Module Summary
While there are many bridal styles out there, one inspired by vintage romance and containing modern touches is a highly sought-after style. Brides want to look unique, yet traditional, with hair styles that can last throughout the day and into the night. This particular look achieves all of those goals while also being slightly different than what every other bride is wearing. The module began by talking about how to section and prepare the hair for this next phase of the style. We also gave you techniques and strategies you can use to create shape and to pin up the loose strands of hair. Next, we reviewed the best ways to incorporate the front sections into this style, along with a few extras you can add at this stage. Finally, we gave you some tips you can pass along to your brides about how to take down an up-do with relatively little pain. Make sure you are familiar with the material presented in this module. Our next one discusses a few other
common styles you can use if your bride does not prefer this one. Each one of those styles builds upon the strategies and techniques discussed here.
.svg)