
Module 2:Surface Preparation & Finishing Techniques
Achieving a smooth, durable, and aesthetically pleasing concrete surface requires precise techniques at each stage of finishing. This section details bull floating, darbying, edging, jointing, troweling (hand vs. power), and burnishing for professional-grade results.
1. Bull Floating and Darbying for Initial Smoothing
Purpose:
Bull floating (using a large, flat tool) and darbying (a smaller hand tool) level the surface, embed large aggregates, and remove minor imperfections after screeding.
These steps prepare the concrete for final troweling by eliminating high/low spots and sealing the surface.
Key Steps & Best Practices:
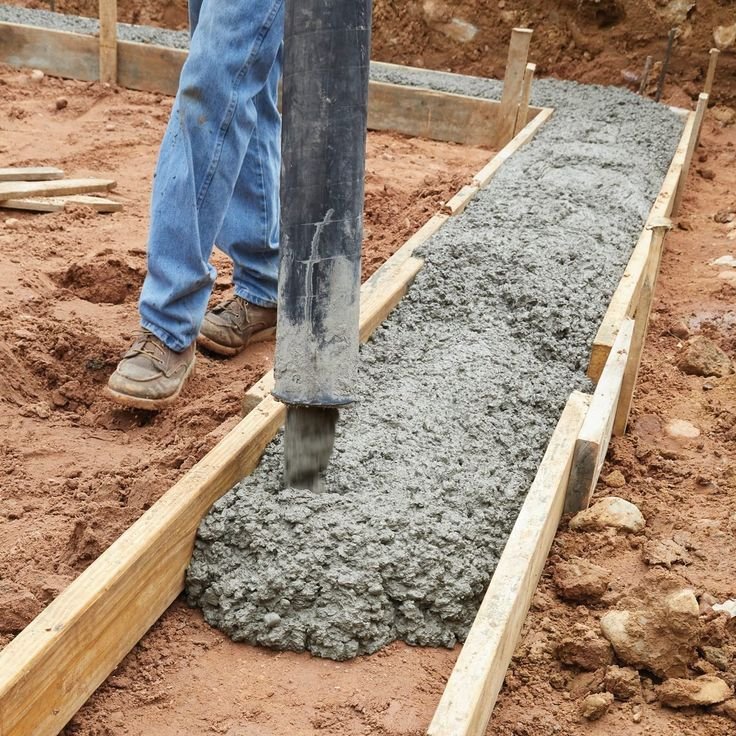
Timing is Critical: Begin when the concrete has stiffened enough to support weight (typically when footprints leave ¼" indentations).
Bull Floating Technique:
Use a long-handled bull float (aluminum or magnesium) in overlapping arcs to smooth the surface.
Keep the leading edge slightly raised to avoid gouging.
Darbying (for Smaller Areas):
A hand darby is used near edges and corners where a bull float can’t reach.
Move in sweeping motions, overlapping passes to ensure uniformity.
Avoid Overworking: Excessive floating can bring excess water and fines to the surface, weakening the top layer.
2. Edging and Jointing Best Practices
Purpose:
Edging rounds off slab edges to prevent chipping and improve durability.
Jointing (control joints) prevents random cracking by creating planned weak points where shrinkage cracks can form.
Key Steps & Best Practices:
Edging:
Tool Selection: Use a hand edger with a radius matching project specs (commonly ¼" to ½").
Timing: Edge after bull floating but before final troweling, when the concrete is firm but still moldable.
Technique:
Tilt the edger slightly (5–10°) and make multiple passes for a clean, rounded edge.
Lift the tool slightly on return strokes to avoid dragging marks.
Jointing:
Types of Joints:
Control Joints (Score Cuts): Made with a grooving tool while concrete is still plastic (or saw-cut later).
Isolation Joints: Separate slabs from fixed objects (walls, columns) using pre-placed joint material.
Spacing Rule: Joints should be spaced 24–36 times the slab thickness (e.g., 4" slab → joints every 8–12 feet).
Depth: Cut ¼ of the slab thickness (e.g., 1" deep for a 4" slab).
3. Advanced Troweling Techniques (Hand vs. Power Trowels)
Purpose:
Troweling compacts the surface, enhances durability, and creates a smooth finish.
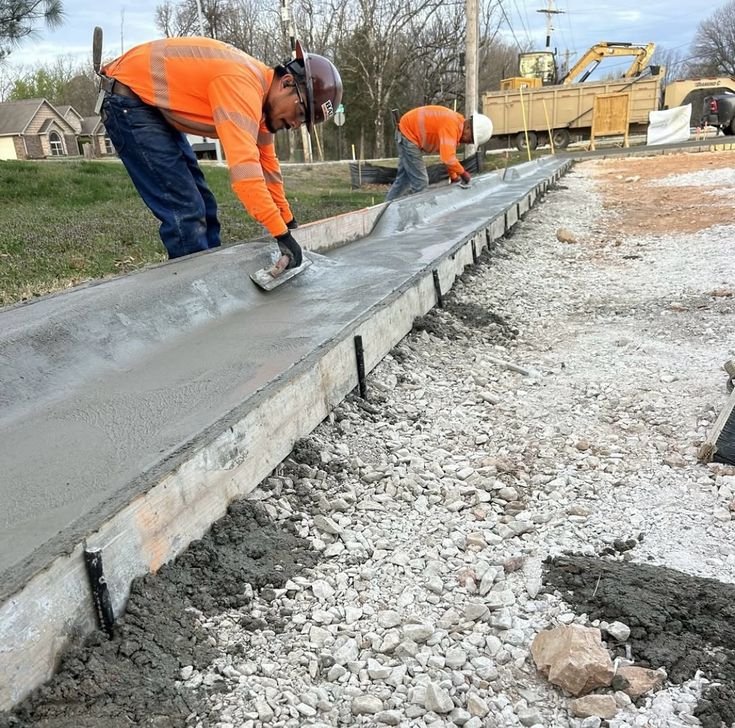
Hand Troweling:
Best for small areas, edges, and touch-ups.
Tools: Steel trowel (for final finish) or magnesium float (for intermediate smoothing).
Technique:
First pass: Use a mag float at a low angle to refine the surface.
Final passes: Switch to a steel trowel, increasing angle (10–30°) for a dense, smooth finish.
Overlap strokes in a figure-8 pattern for uniformity.
Power Troweling (Ride-On or Walk-Behind):
Best for large slabs (floors, pavements).
Stages of Power Troweling:
Float Blades (Initial Pass): Levels the surface without burnishing.
Finish Blades (Final Passes): Progressively increases shine and density.
Speed & Angle Control:
Start slow (50–100 RPM) with blades flat, then increase speed (150+ RPM) and tilt blades slightly for a burnished finish.
Avoid excessive troweling, which can delaminate the surface.
4. Burnishing for Ultra-Smooth Surfaces
Purpose:
Burnishing polishes the concrete to a high-gloss, wear-resistant finish, commonly used in industrial floors, showrooms, and polished concrete.
Key Steps & Best Practices:
Timing: Done during the final troweling stages when the concrete is nearly hardened but still workable.
Technique:
Use high-speed power trowels (200+ RPM) with steel blades at a steep angle.
Multiple passes may be needed, with progressively finer blades.
Dry-Shake Hardener (Optional): For extra durability, apply metallic or quartz hardeners before burnishing.
Avoid Over-Burnishing: Excessive heat can cause crazing (fine surface cracks).
Key Takeaways:
Bull floating & darbying establish a level base before final finishing.
Edging prevents spalling, while jointing controls cracks.
Hand troweling is precise for edges; power troweling is efficient for large slabs.
Burnishing creates a premium finish but requires careful speed and pressure control.
.svg)